

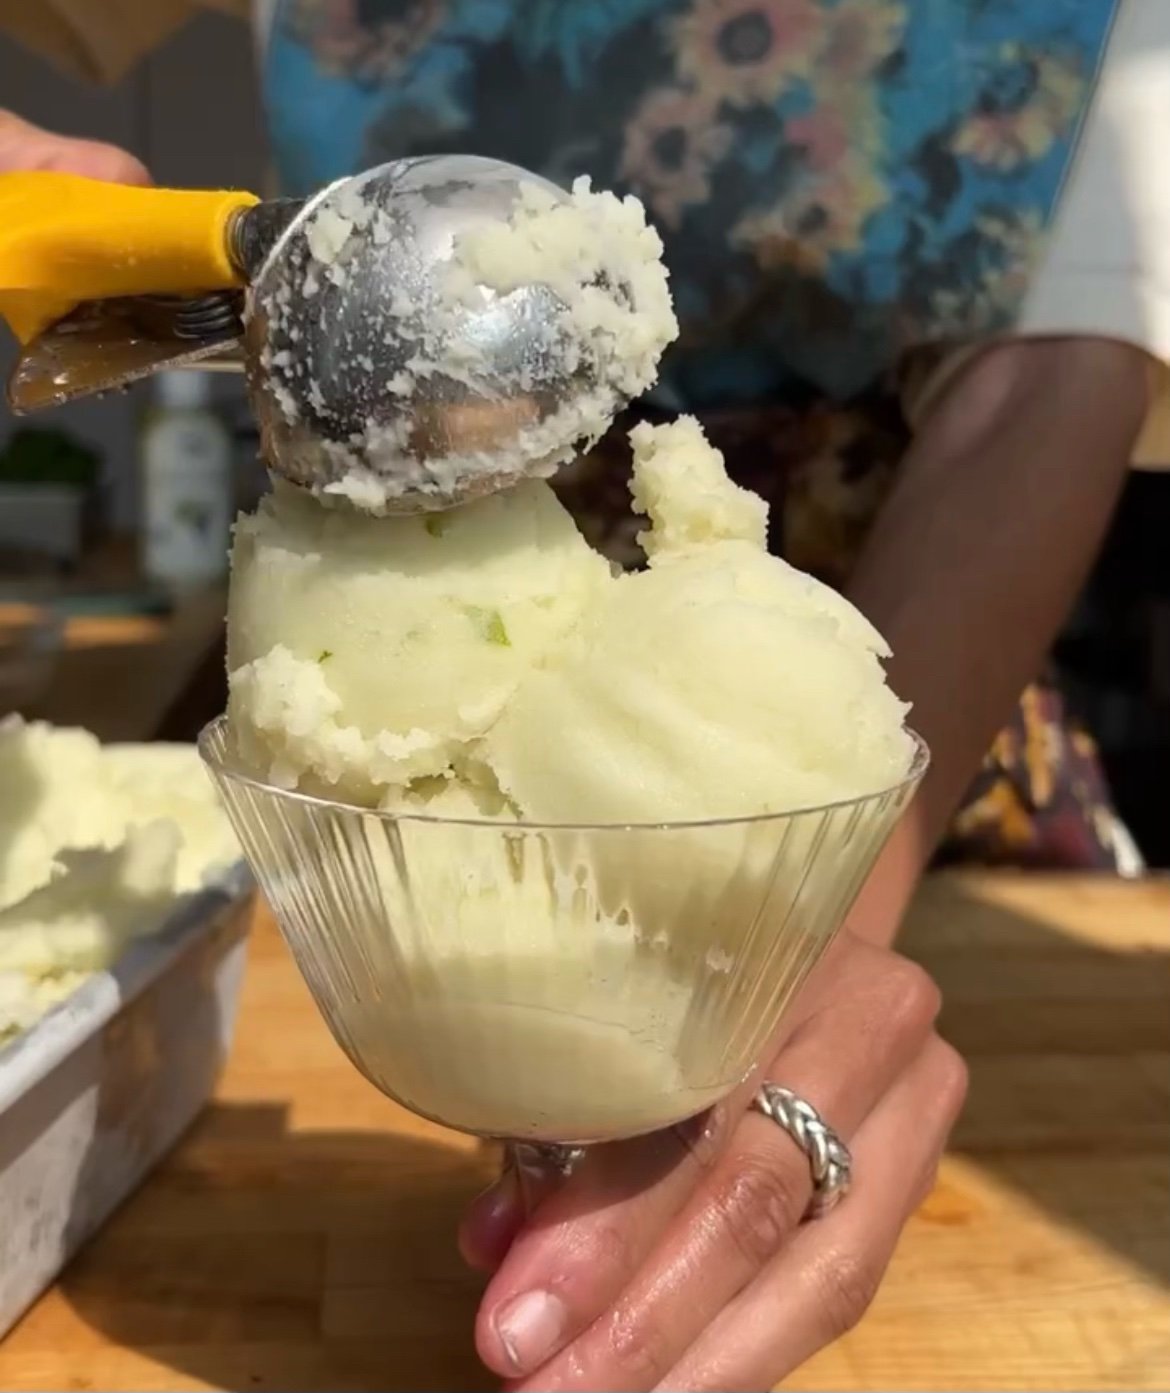
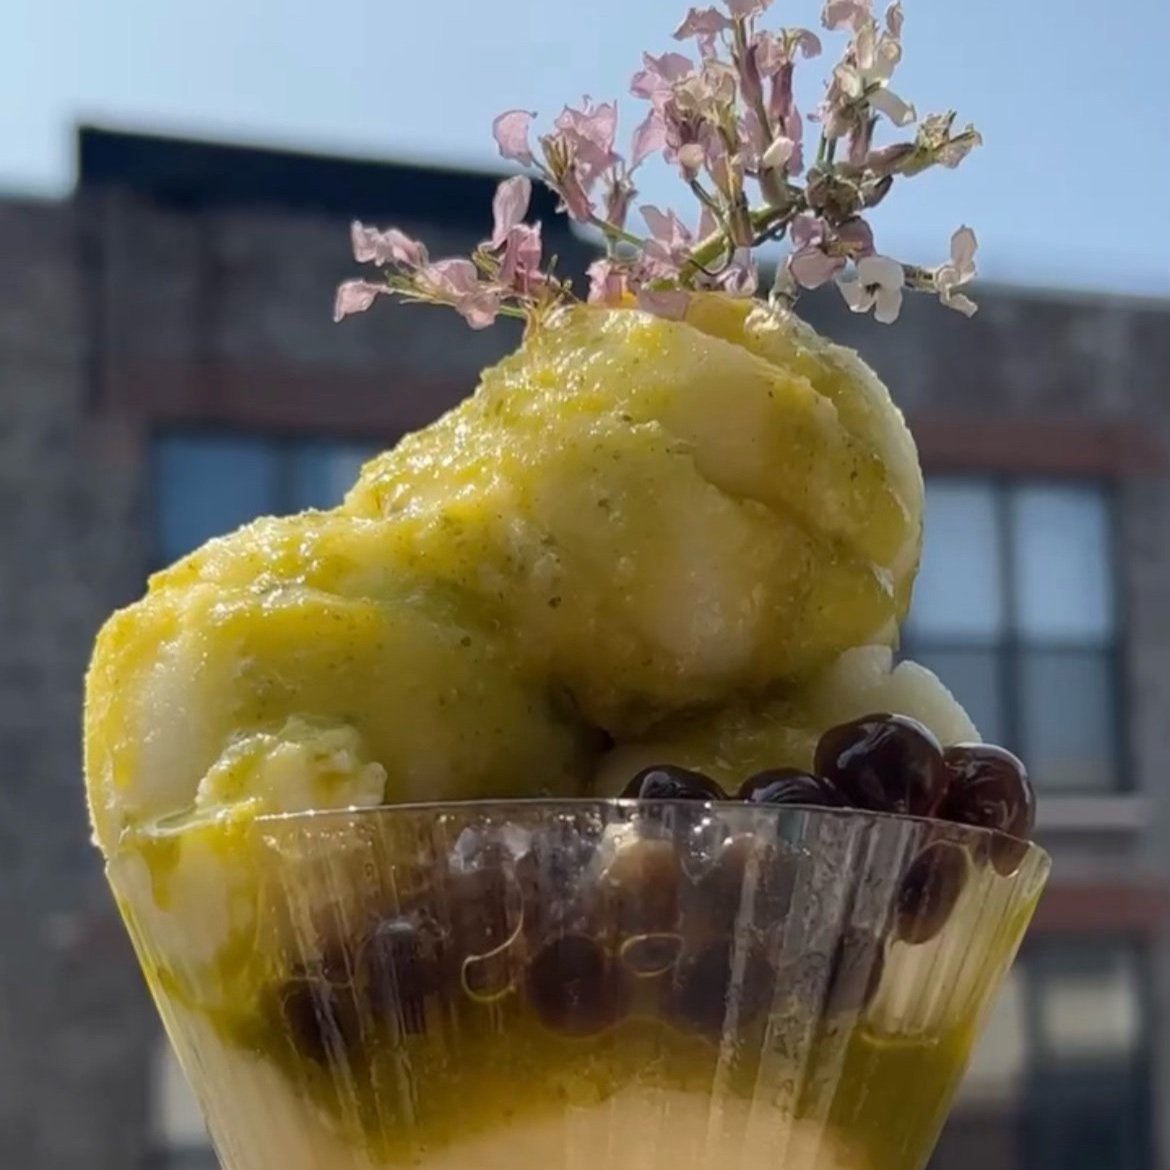

honeydew cucumber sorbet with basil oil
— —
What’s great about sorbet is how easy the ratios are to remember. Basically for every two pounds of fruit, you’re gonna use two cups of sugar. Remember that and your sorbet will always come out amazing.
If you don’t have an ice cream maker, this will make a gorgeous granita! Just place the sorbet base in a large freezer safe container and scrape with a fork every 30 minutes for a sweet granita treat!
— —
Honeydew Cucumber Sorbet Ingredients:
2 cups cane sugar (this would also work with coconut sugar, but will change the color)
2 limes (1 de-seeded and chopped, and only the juice of the other lime)
32 ounces blended honey dew (to do this simply blend cut and ripe honey dew in high powered blender)
1 medium sized cucumber (peeled, and chopped)
1/2 jalapeno, de-seeded
Honeydew Cucumber Sorbet Process:
Place sugar and chopped whole lime (yes the entire lime) into a food processor and mix until the lime is fully combined. Add the lime and sugar mixture to the 32 ounces of blended honey dew. Blend on high in blender until smooth. To the blended honey dew and sugar lime mixture, add the cucumber, jalapeño, and juice of remaining lime. Blend until super smooth. Now you have your sorbet base.
Now, at this stage you can absolutely strain your mixture to make for an SUPER smooth sorbet, however..I don’t actually find it super necessary with this flavor because honey dew is such a smooth fruit already. Place your blended sorbet base into a large bowl or container and place in the refrigerator for at least 30 minutes. The colder your base, the faster it’ll freeze up in your ice cream maker. To make sorbet, place half of the sorbet base into your ice cream maker, and follow the manufacturers instructions. Once you’ve churned your sorbet base, place in a freezer safe container, and ENJOY!
— —
To make basil oil:
Blanch 2 cups of basil in boiling water for 10 seconds to set color. Remove and place in an ice bath. Be sure to dry out all excess moisture from blanched basil and then blend with 1-2 cups of your favorite olive oil. Drizzle over sorbet and enjoy!
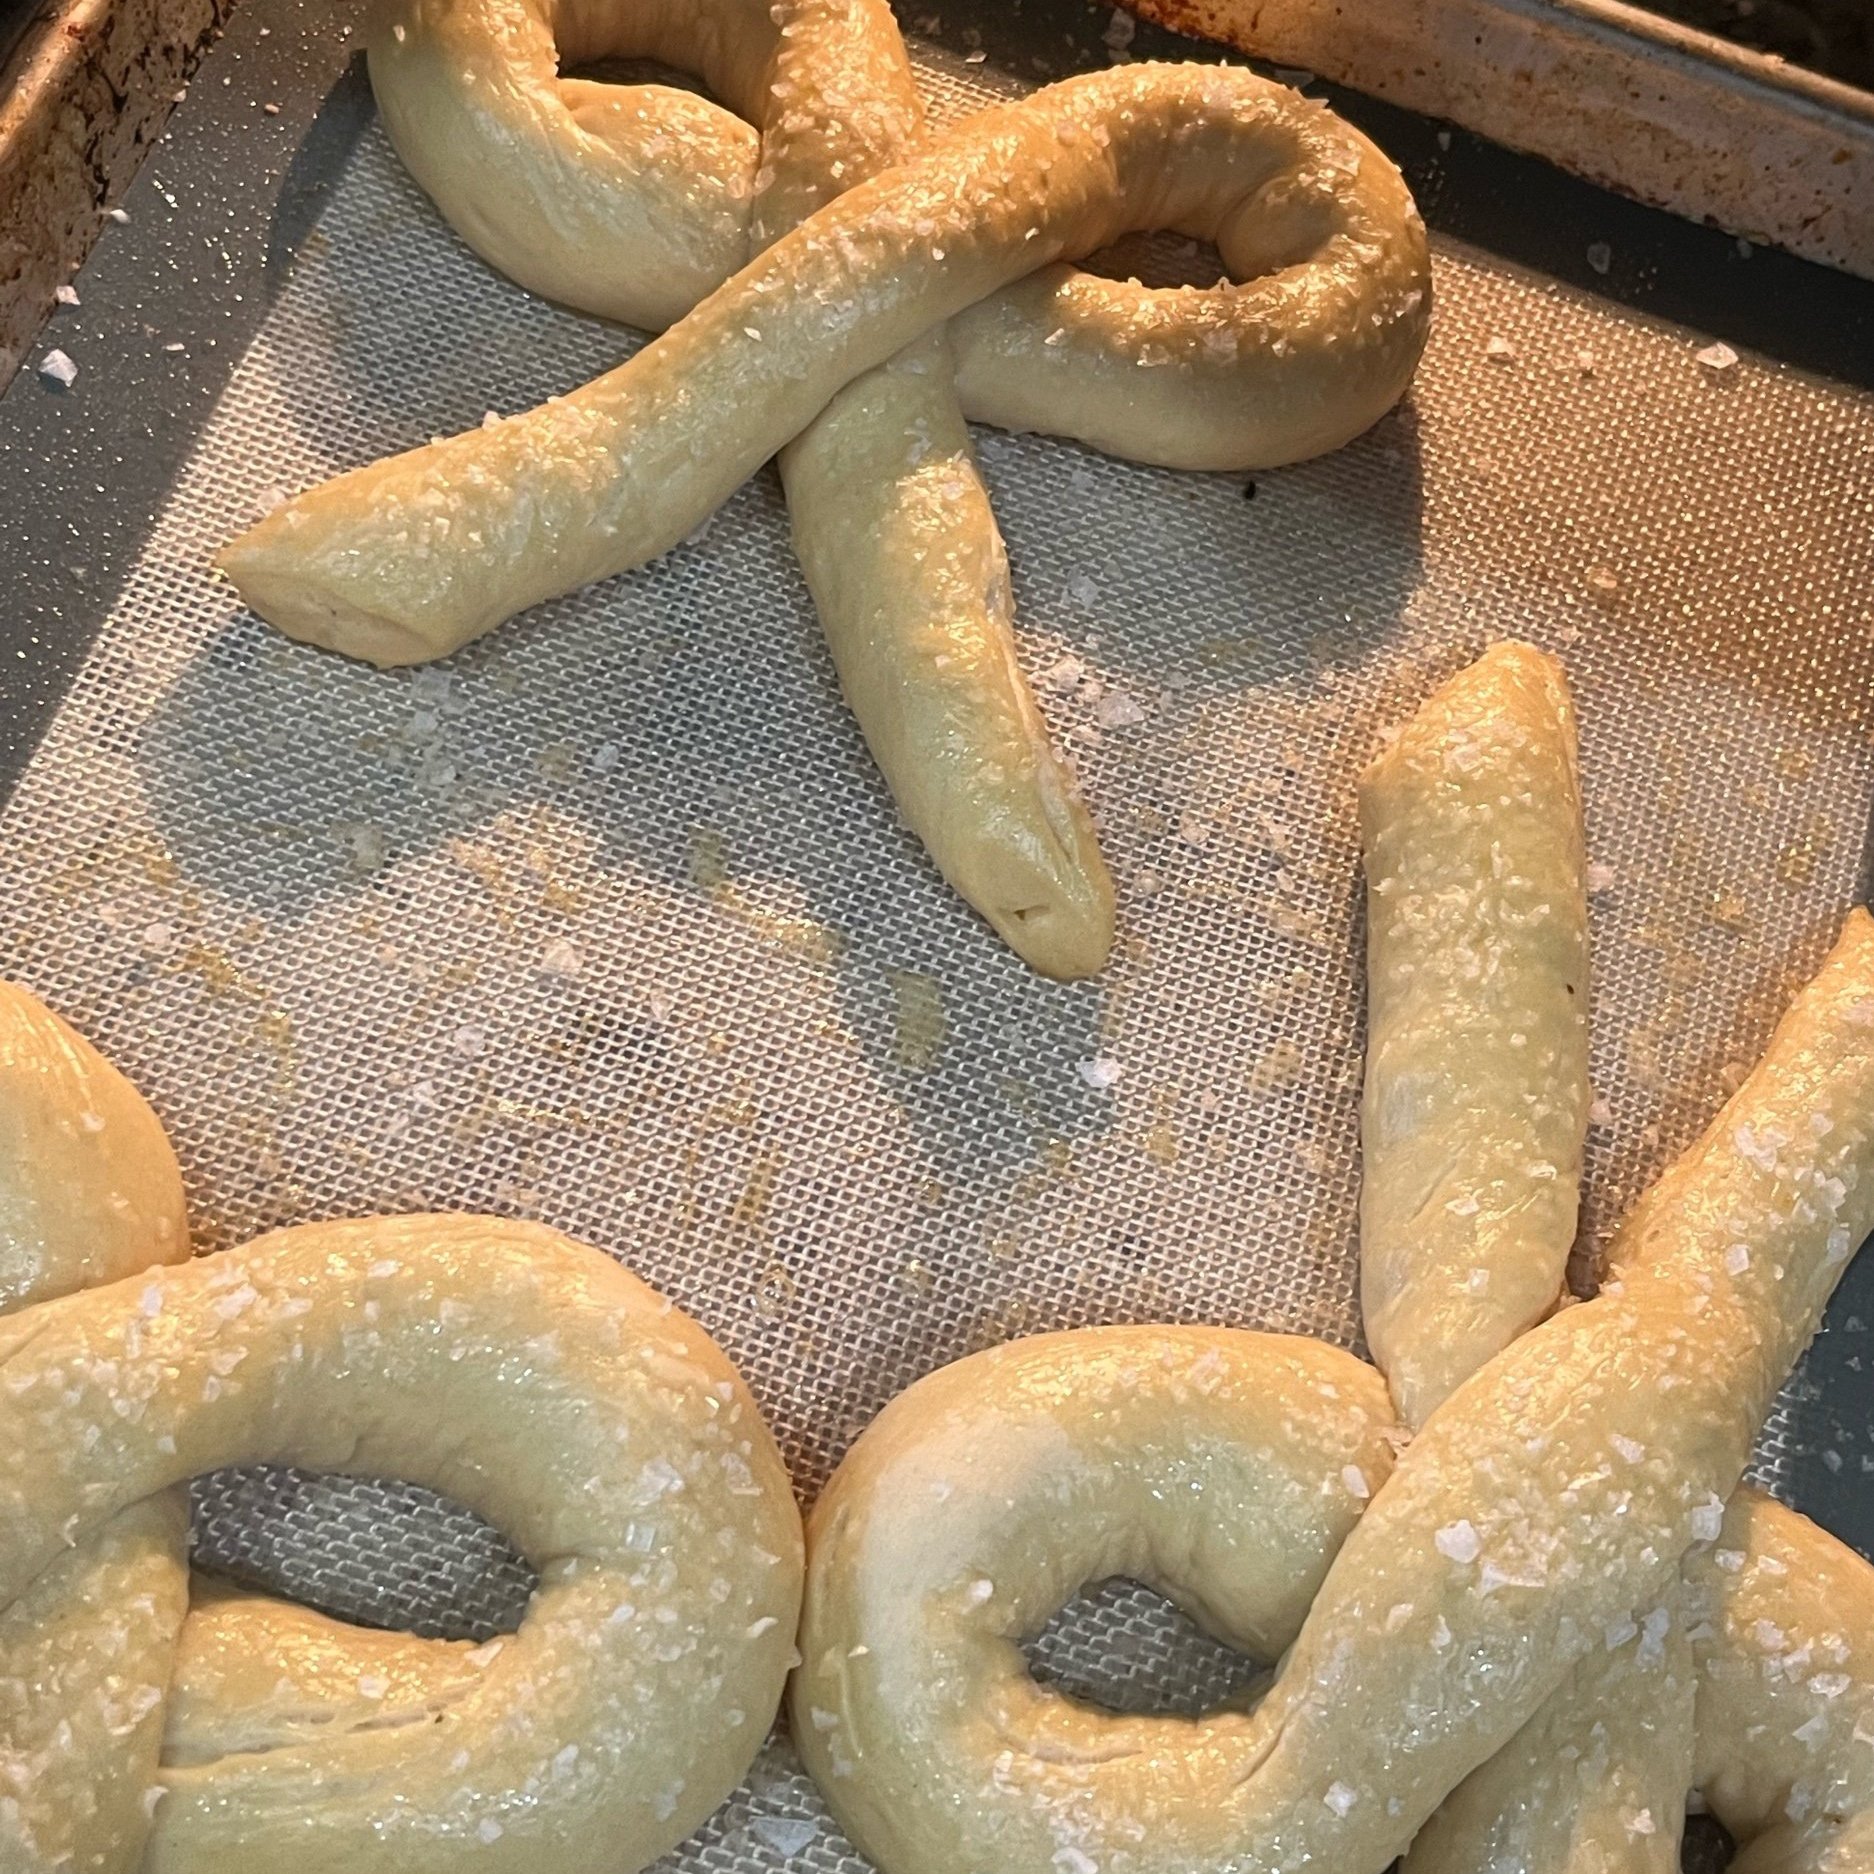
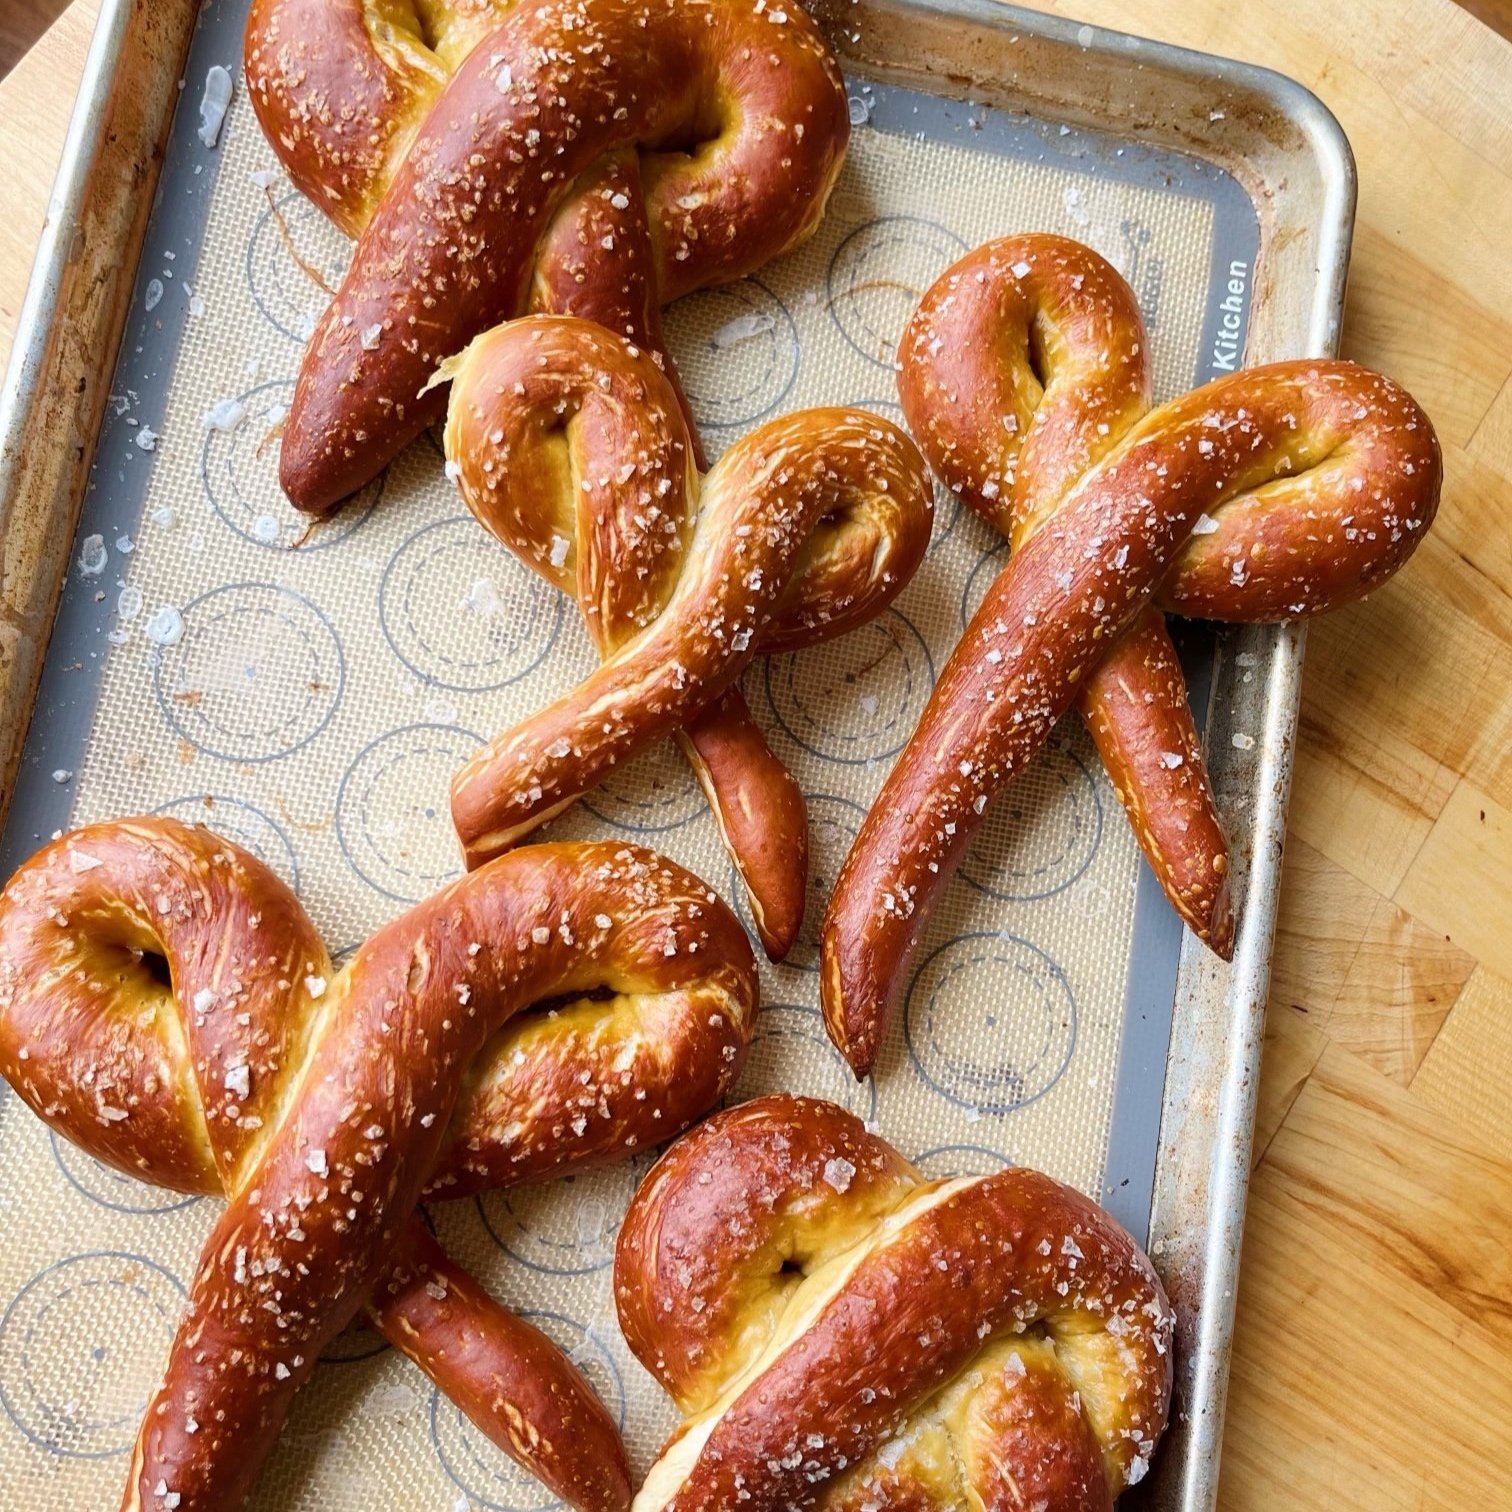
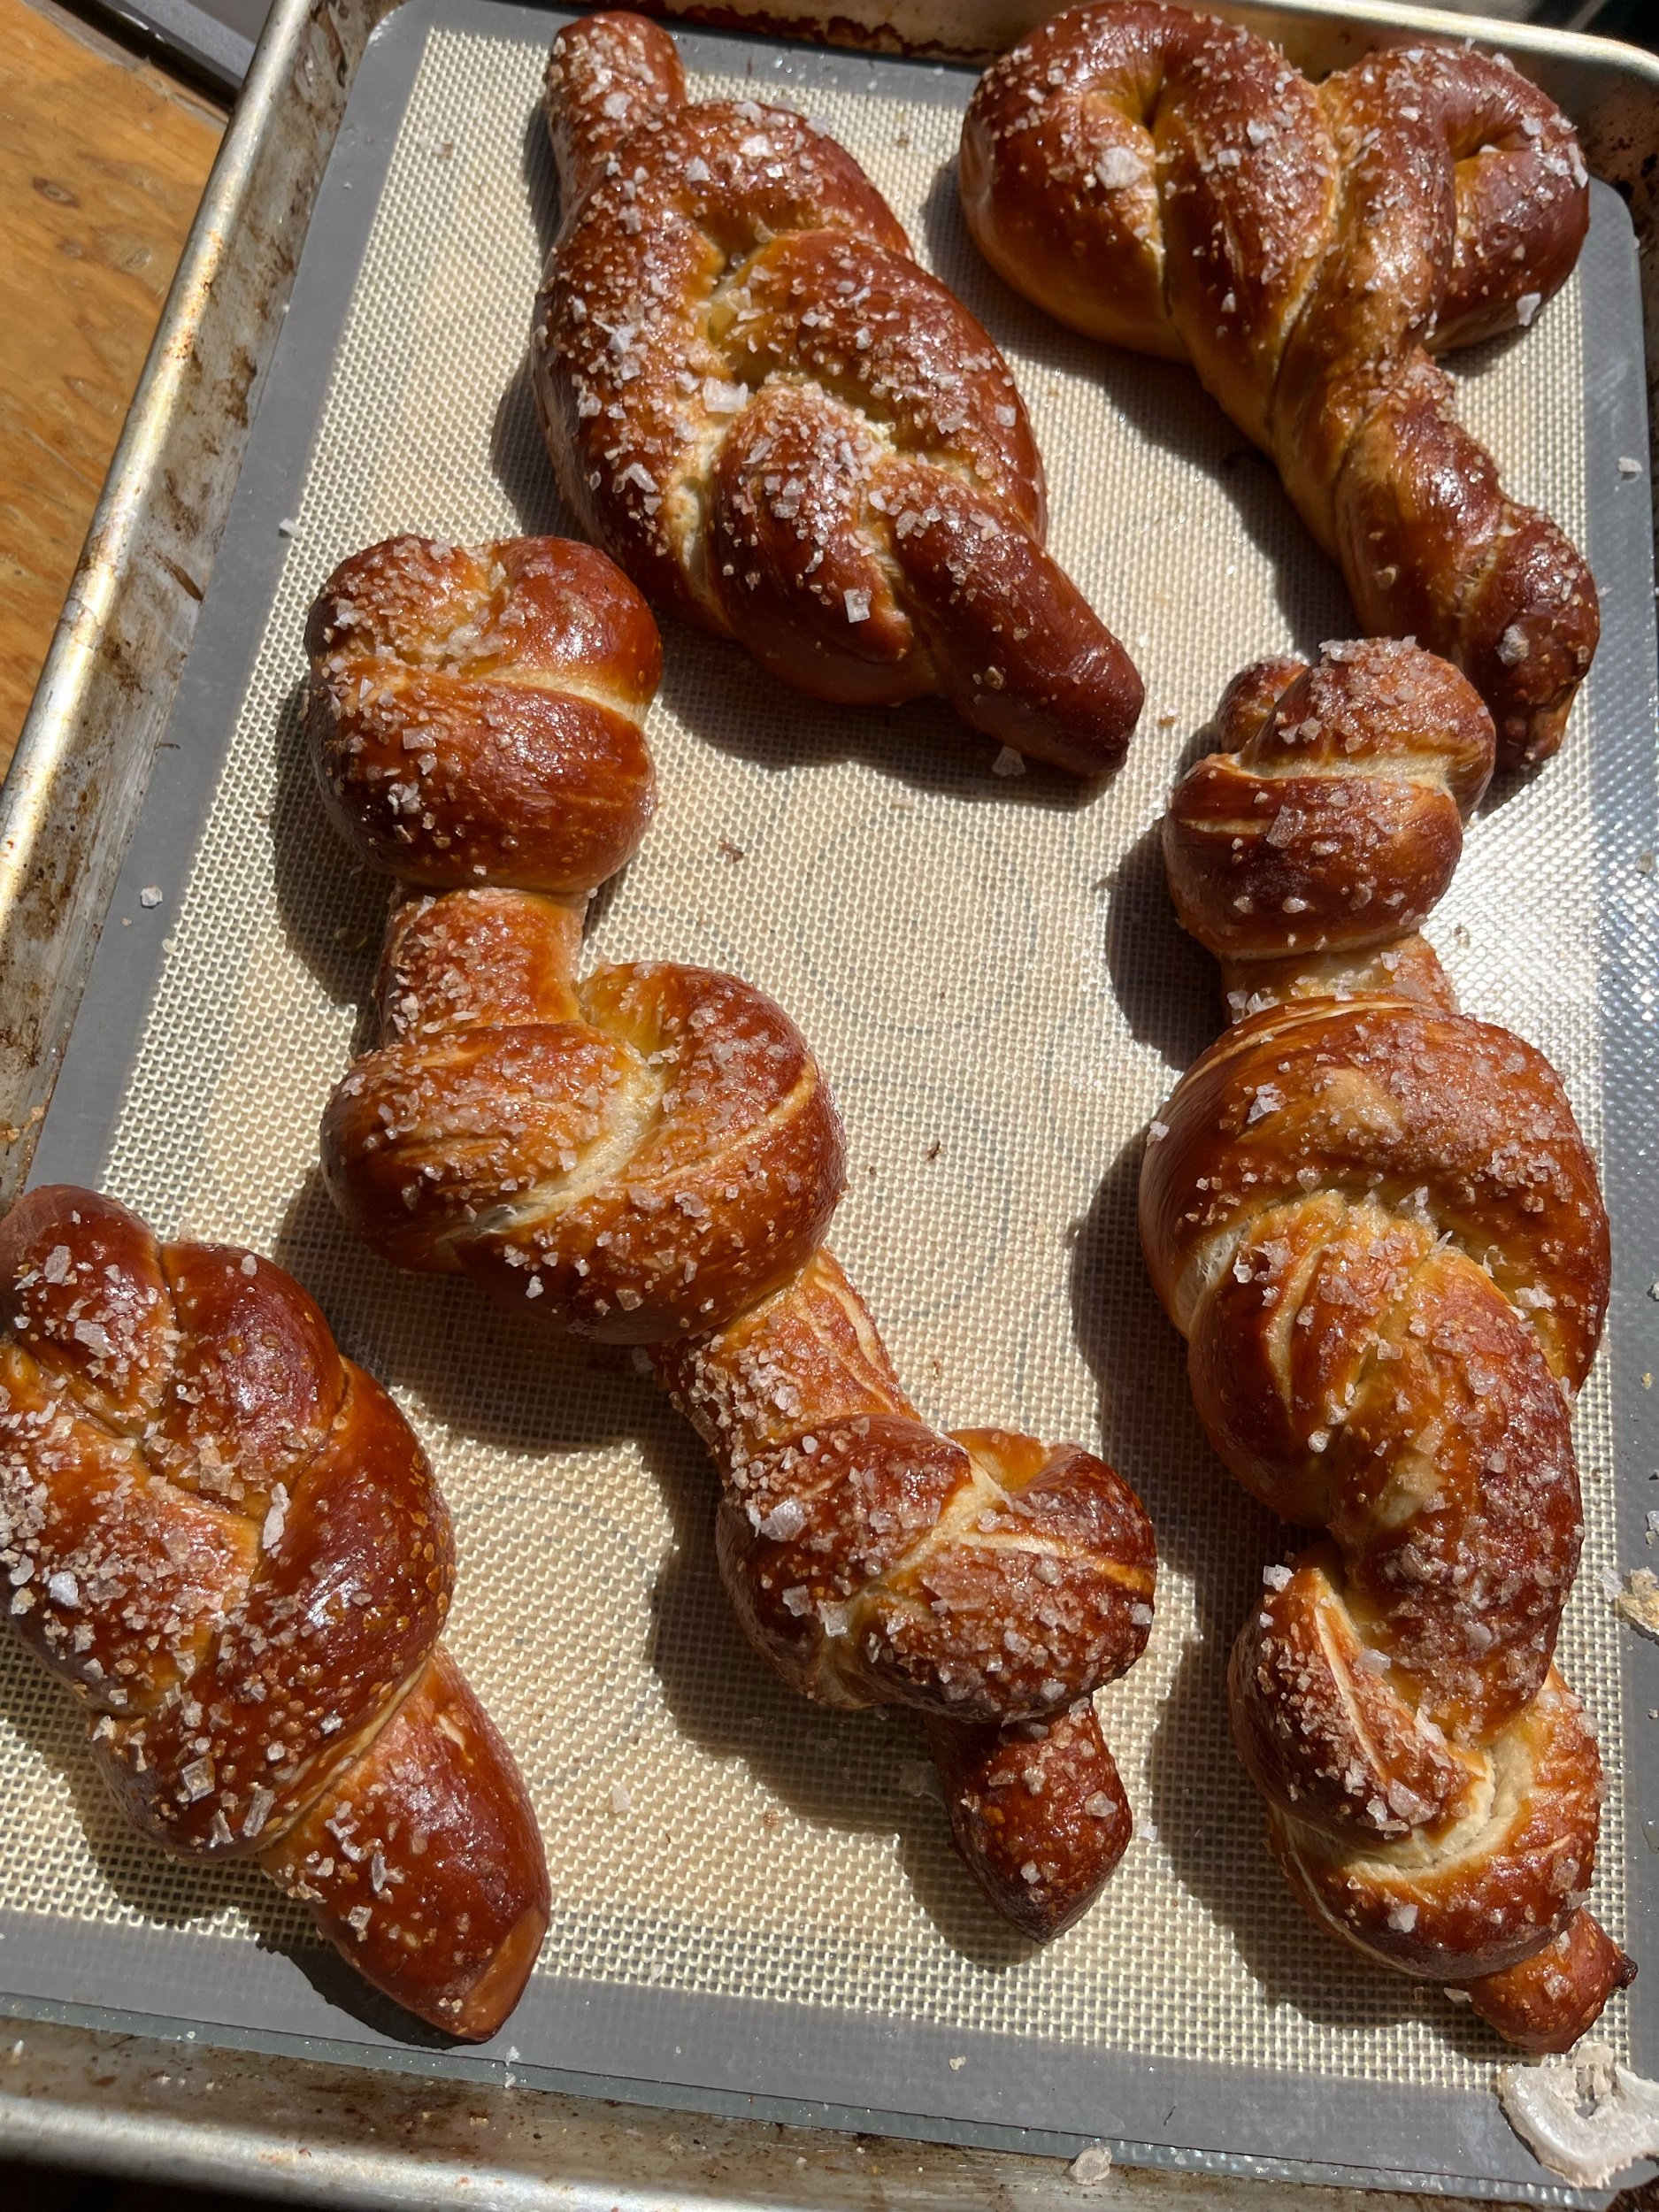
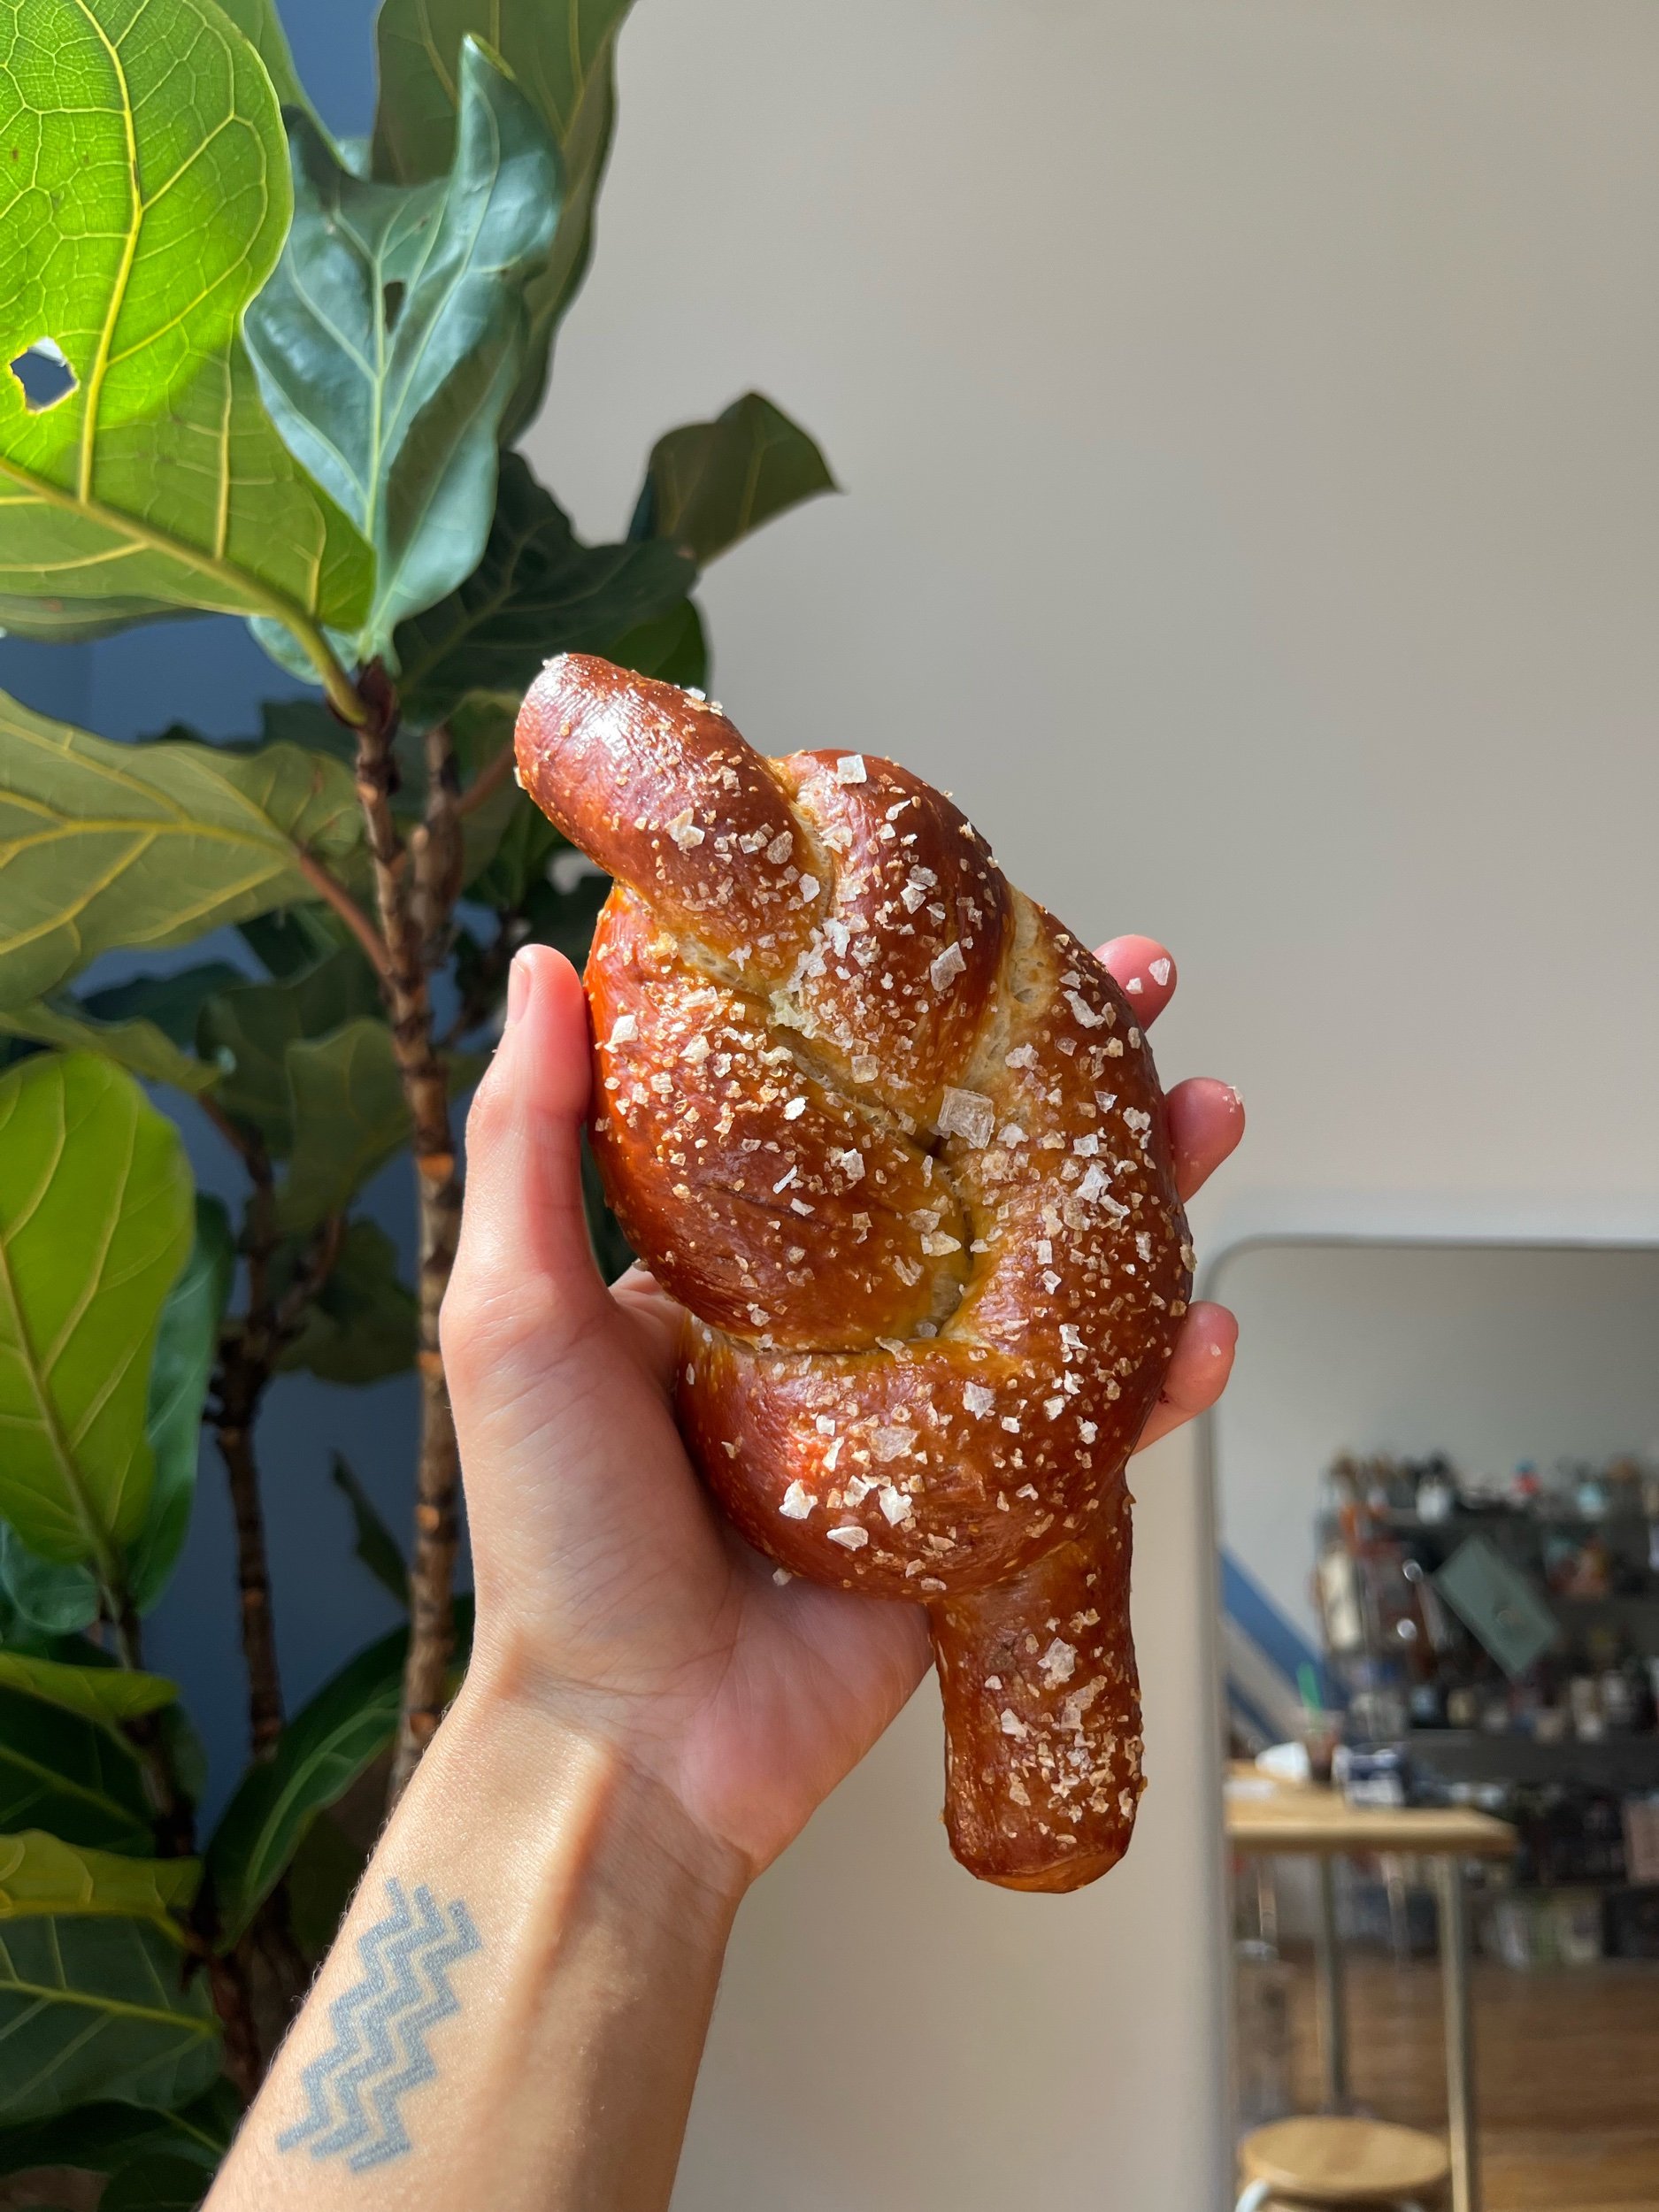
my favorite salted soft pretzels
— —
Pretzel Dough Ingredients:
510g water (under 110F)
80g brown sugar
2 packs instant yeast (15g)
400g all-purpose flour
430g bread flour
8g kosher salt
65g neutral-tasting oil (I use grapeseed)
maldon salt for topping
Lye Bath:
60g food-grade lye (sodium hydroxide)
2000g water
**A quick note: You’re going to need food safety gloves and a large metal or glass container for this. Please be careful not to splash yourself or anything in your surroundings with lye bath because it’ll stain your clothes and can also hurt/burn your skin.
Pretzel Process:
Prep two sheet pans fitted with silpat silicone mats. This is very important! If you line your baking sheet with parchment paper, the pretzels will stick to the paper, and it won’t be pretty. I don’t want that to happen to you, so please get a few silpat mats :)
Preheat the oven to 450F. In the bowl of a standing mixer fitted with a dough hook, add the warm water (make sure the temp doesn’t exceed 110F) brown sugar, and the yeast to the standing mixer bowl. Whisk until dissolved and let sit at room temp until yeast becomes all foamy and perfect. While the yeast is doing its thing, whisk together the all-purpose flour, bread flour, and salt. Once the yeast mixture has become foamy, start the mixer and gradually add the flour. Once half the flour has been added, add in the oil and the remainder of the flour. Knead the dough for at least 10 minutes or until dough is smooth-ish (the dough doesn’t need to be pillowy soft and perfect, it just needs to be soft to the touch and not shaggy) You can also absolutely do this entire process by hand, I would just recommend kneading for 12-15 minutes instead of 10 minutes like with a standing mixer.
At this stage you’ll want to transfer the dough to a large well oiled bowl (make sure the bowl is big enough to allow for the dough to rise at least double in size). Cover the bowl with a damp kitchen towel and let it rise for at least 90 minutes or until it has doubled in size. Once the dough has doubled in size, punch down the dough to release as much air as possible, and divide the dough into 10-12 pieces. Press each piece of dough flat, and then roll the dough into itself and form a ball, place the dough balls seam side down to rest. Let the dough balls rest (covered with a damp towel or paper towels) for at least 15 minutes before attempting to roll out. This dough appreciates a good rest. If you don’t rest the dough, your dough will likely tear and not be easy to work with.
To roll out dough balls into a long rope shape, use firm but even pressure starting towards the center of the dough. Roll the dough until the dough rope length is about 12 inches long, and then set the rope aside to rest again. While that dough rope rests, continue to do this same process with the rest of your dough balls. Once all of the dough balls have been rolled out to about 12 inches. Go back to the first dough rope, and proceed to roll out until the dough rope is anywhere from 20 to 28 inches. At this stage you can make whatever shape you want. I love making standard pretzel shapes, but have fun with it! Try making a bow shape, a knot shape, or even something funkier. There really aren’t any rules when it comes to shaping once you get the dough rolled out long enough. Once your pretzels are all shaped, set them aside for the lye bath.
To prepare lye bath: Fill a large glass or metal bowl with water and food grade lye. Using a metal whisk, GENTLY whisk until lye is fully dissolved. When it’s time to dip the pretzels in the lye bath, be sure to put on your rubber or latex food-safe gloves. Carefully grab each pretzel and gently dip the pretzels into the lye bath. Let the pretzels soak for 5-10 seconds making sure that they get fully submerged/you don’t miss any spots. Transfer the lye bathed pretzels to your prepared sheet pans prepared with a silpat (**remember, do not use parchment paper or the pretzels with stick to the paper, and that’s no good haha) At this stage you can sprinkle maldon/flaky sea salt all over your gorgeous pretzels, and put them in the oven for anywhere from 12-16 minutes. Keep an eye out on them because they actually cook a lot faster than you’d think.
Once they’re done baking you can brush them with melted butter or just eat them as is because they’re absolutely perfect and delicious!!!!
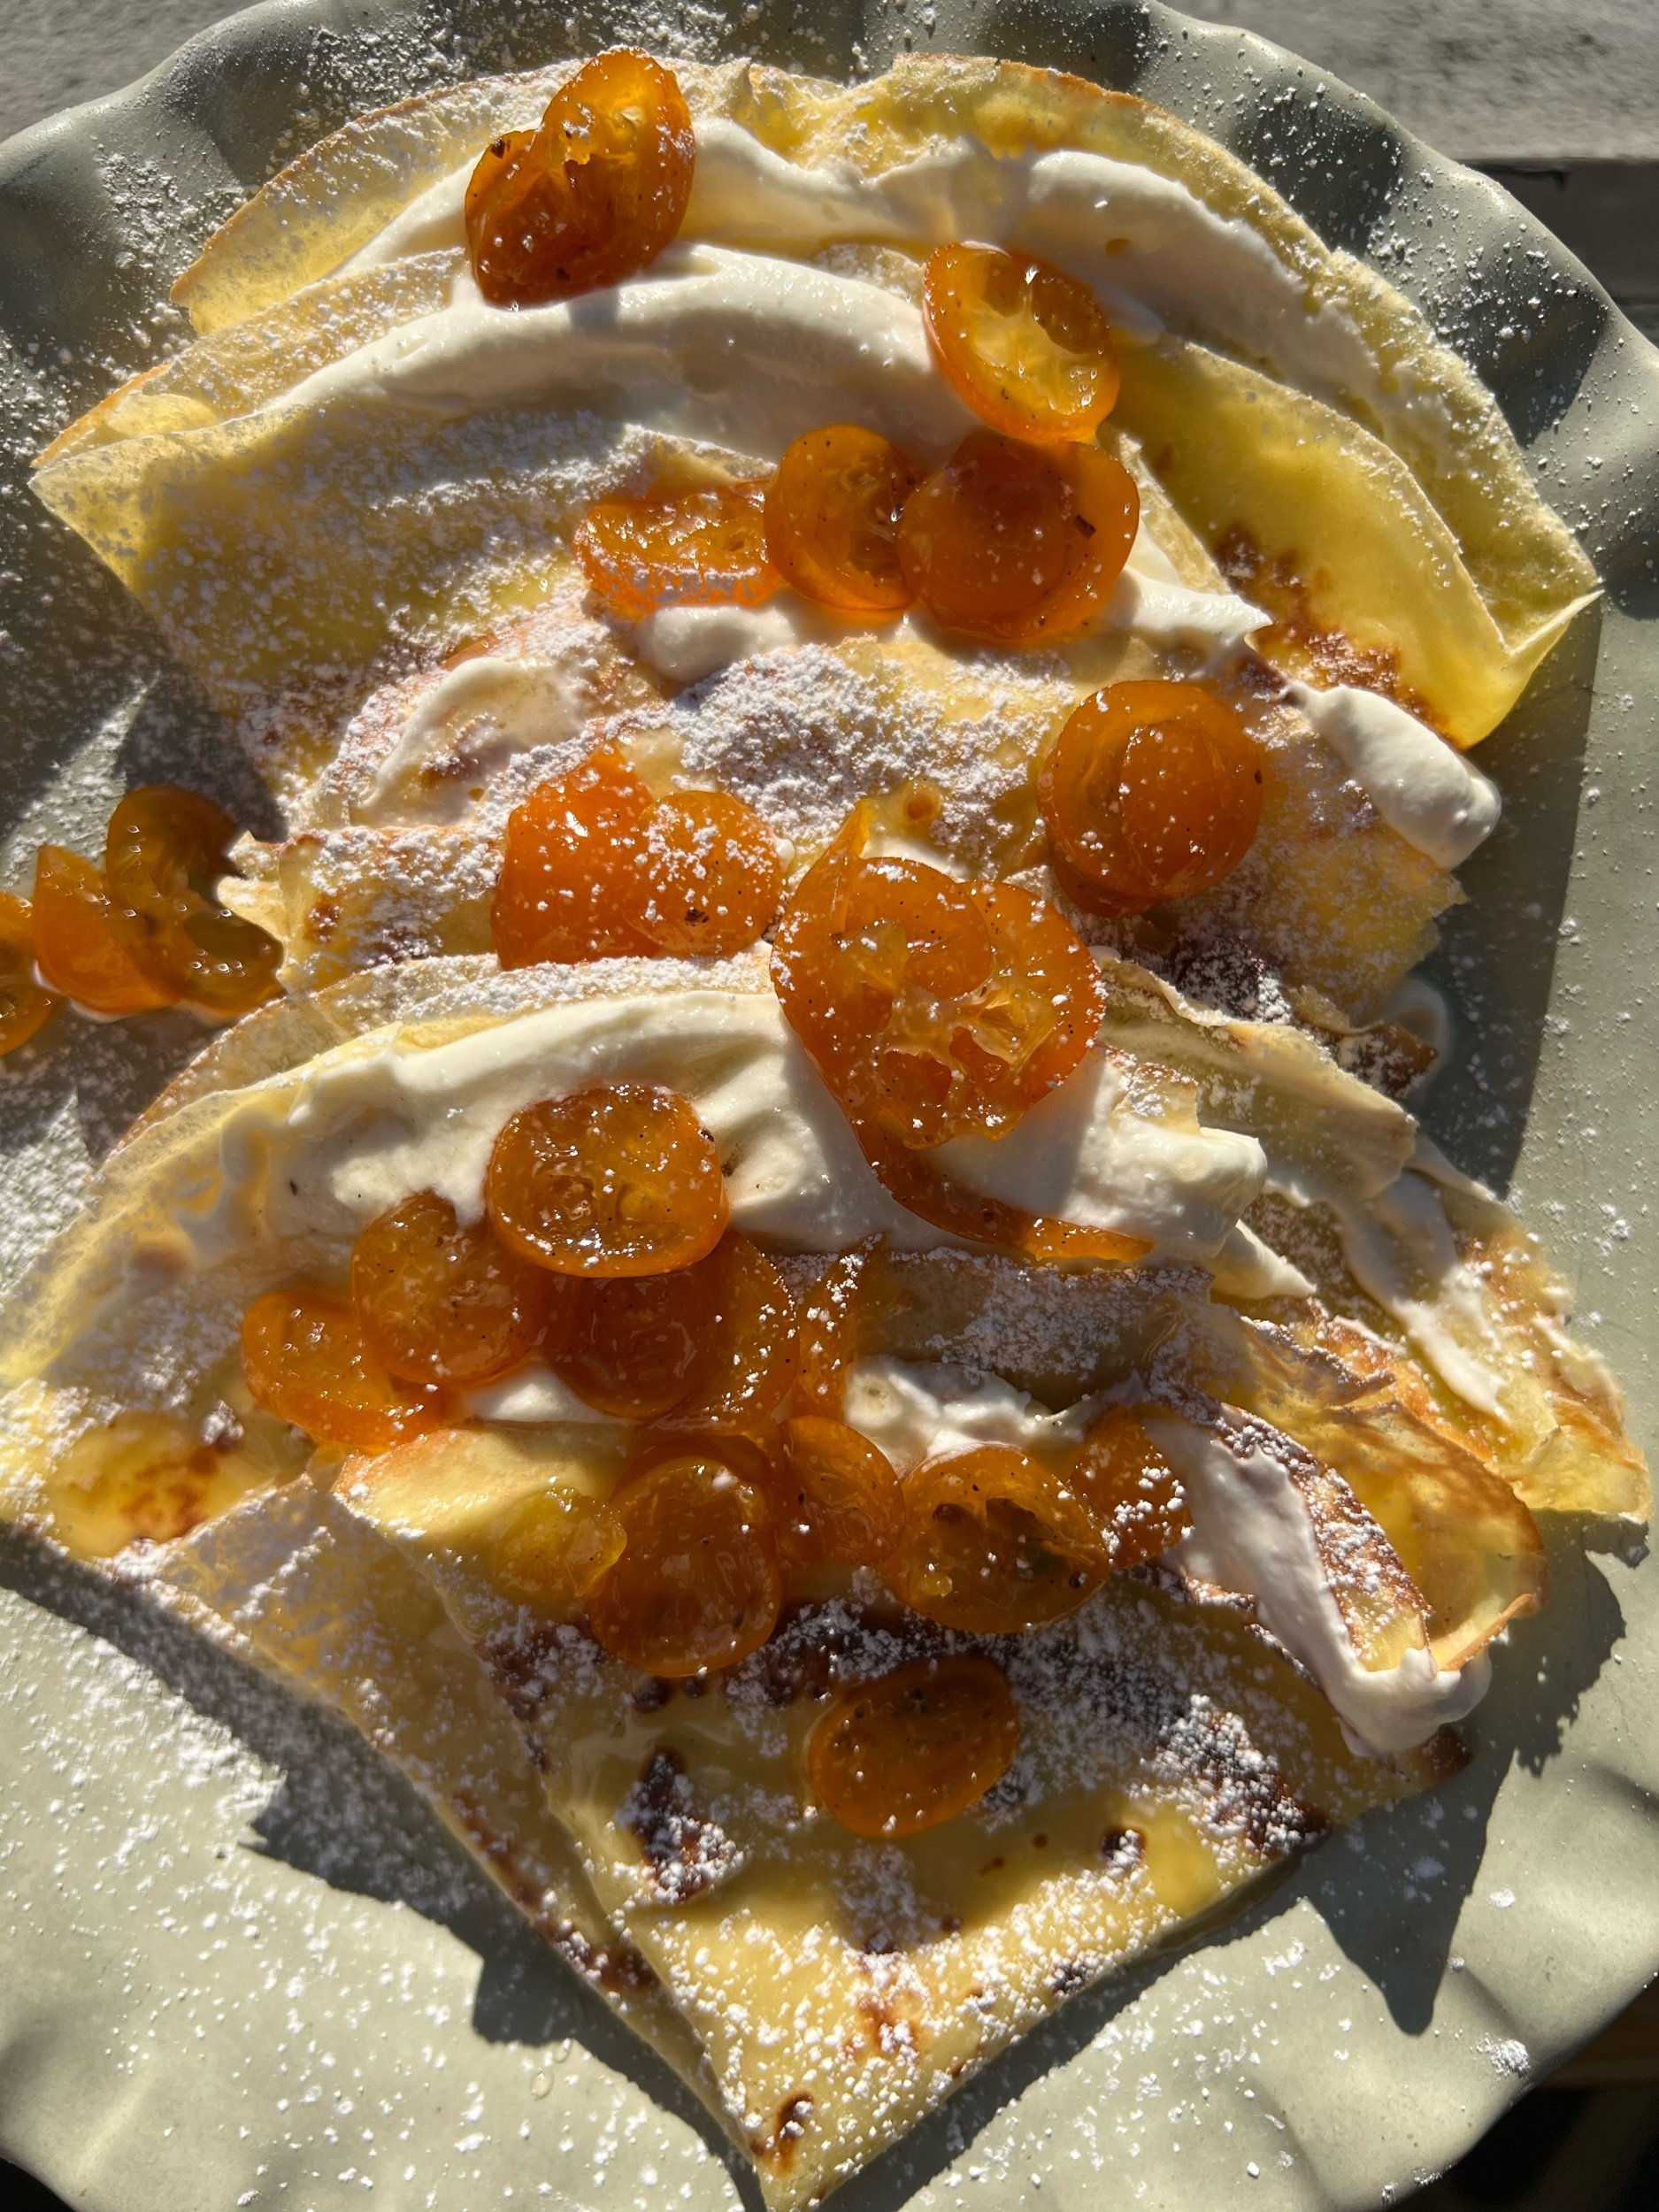
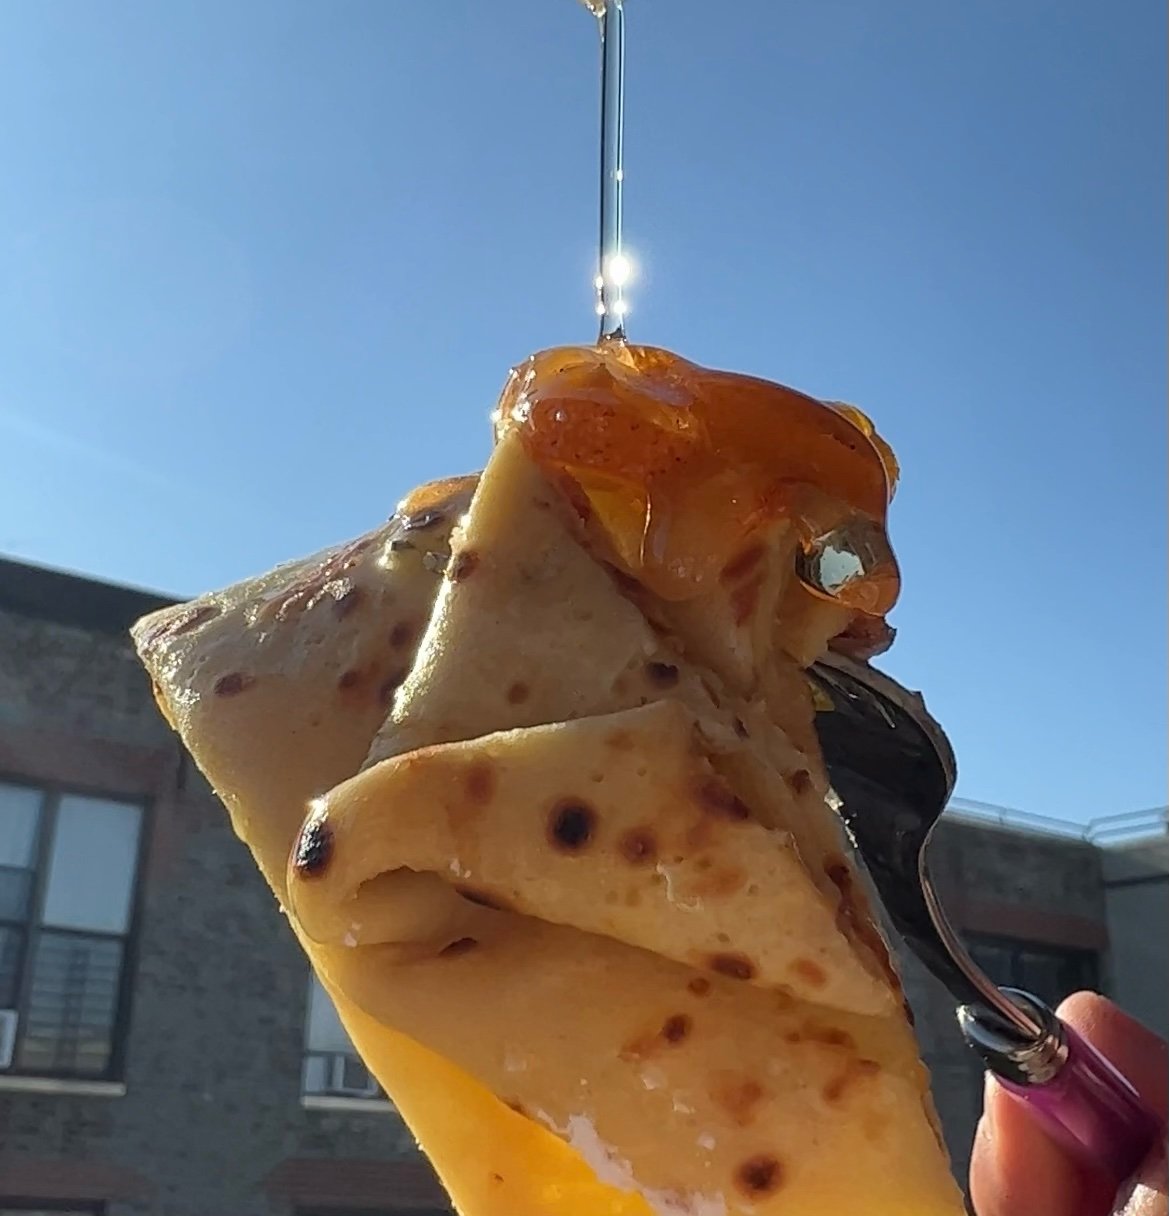
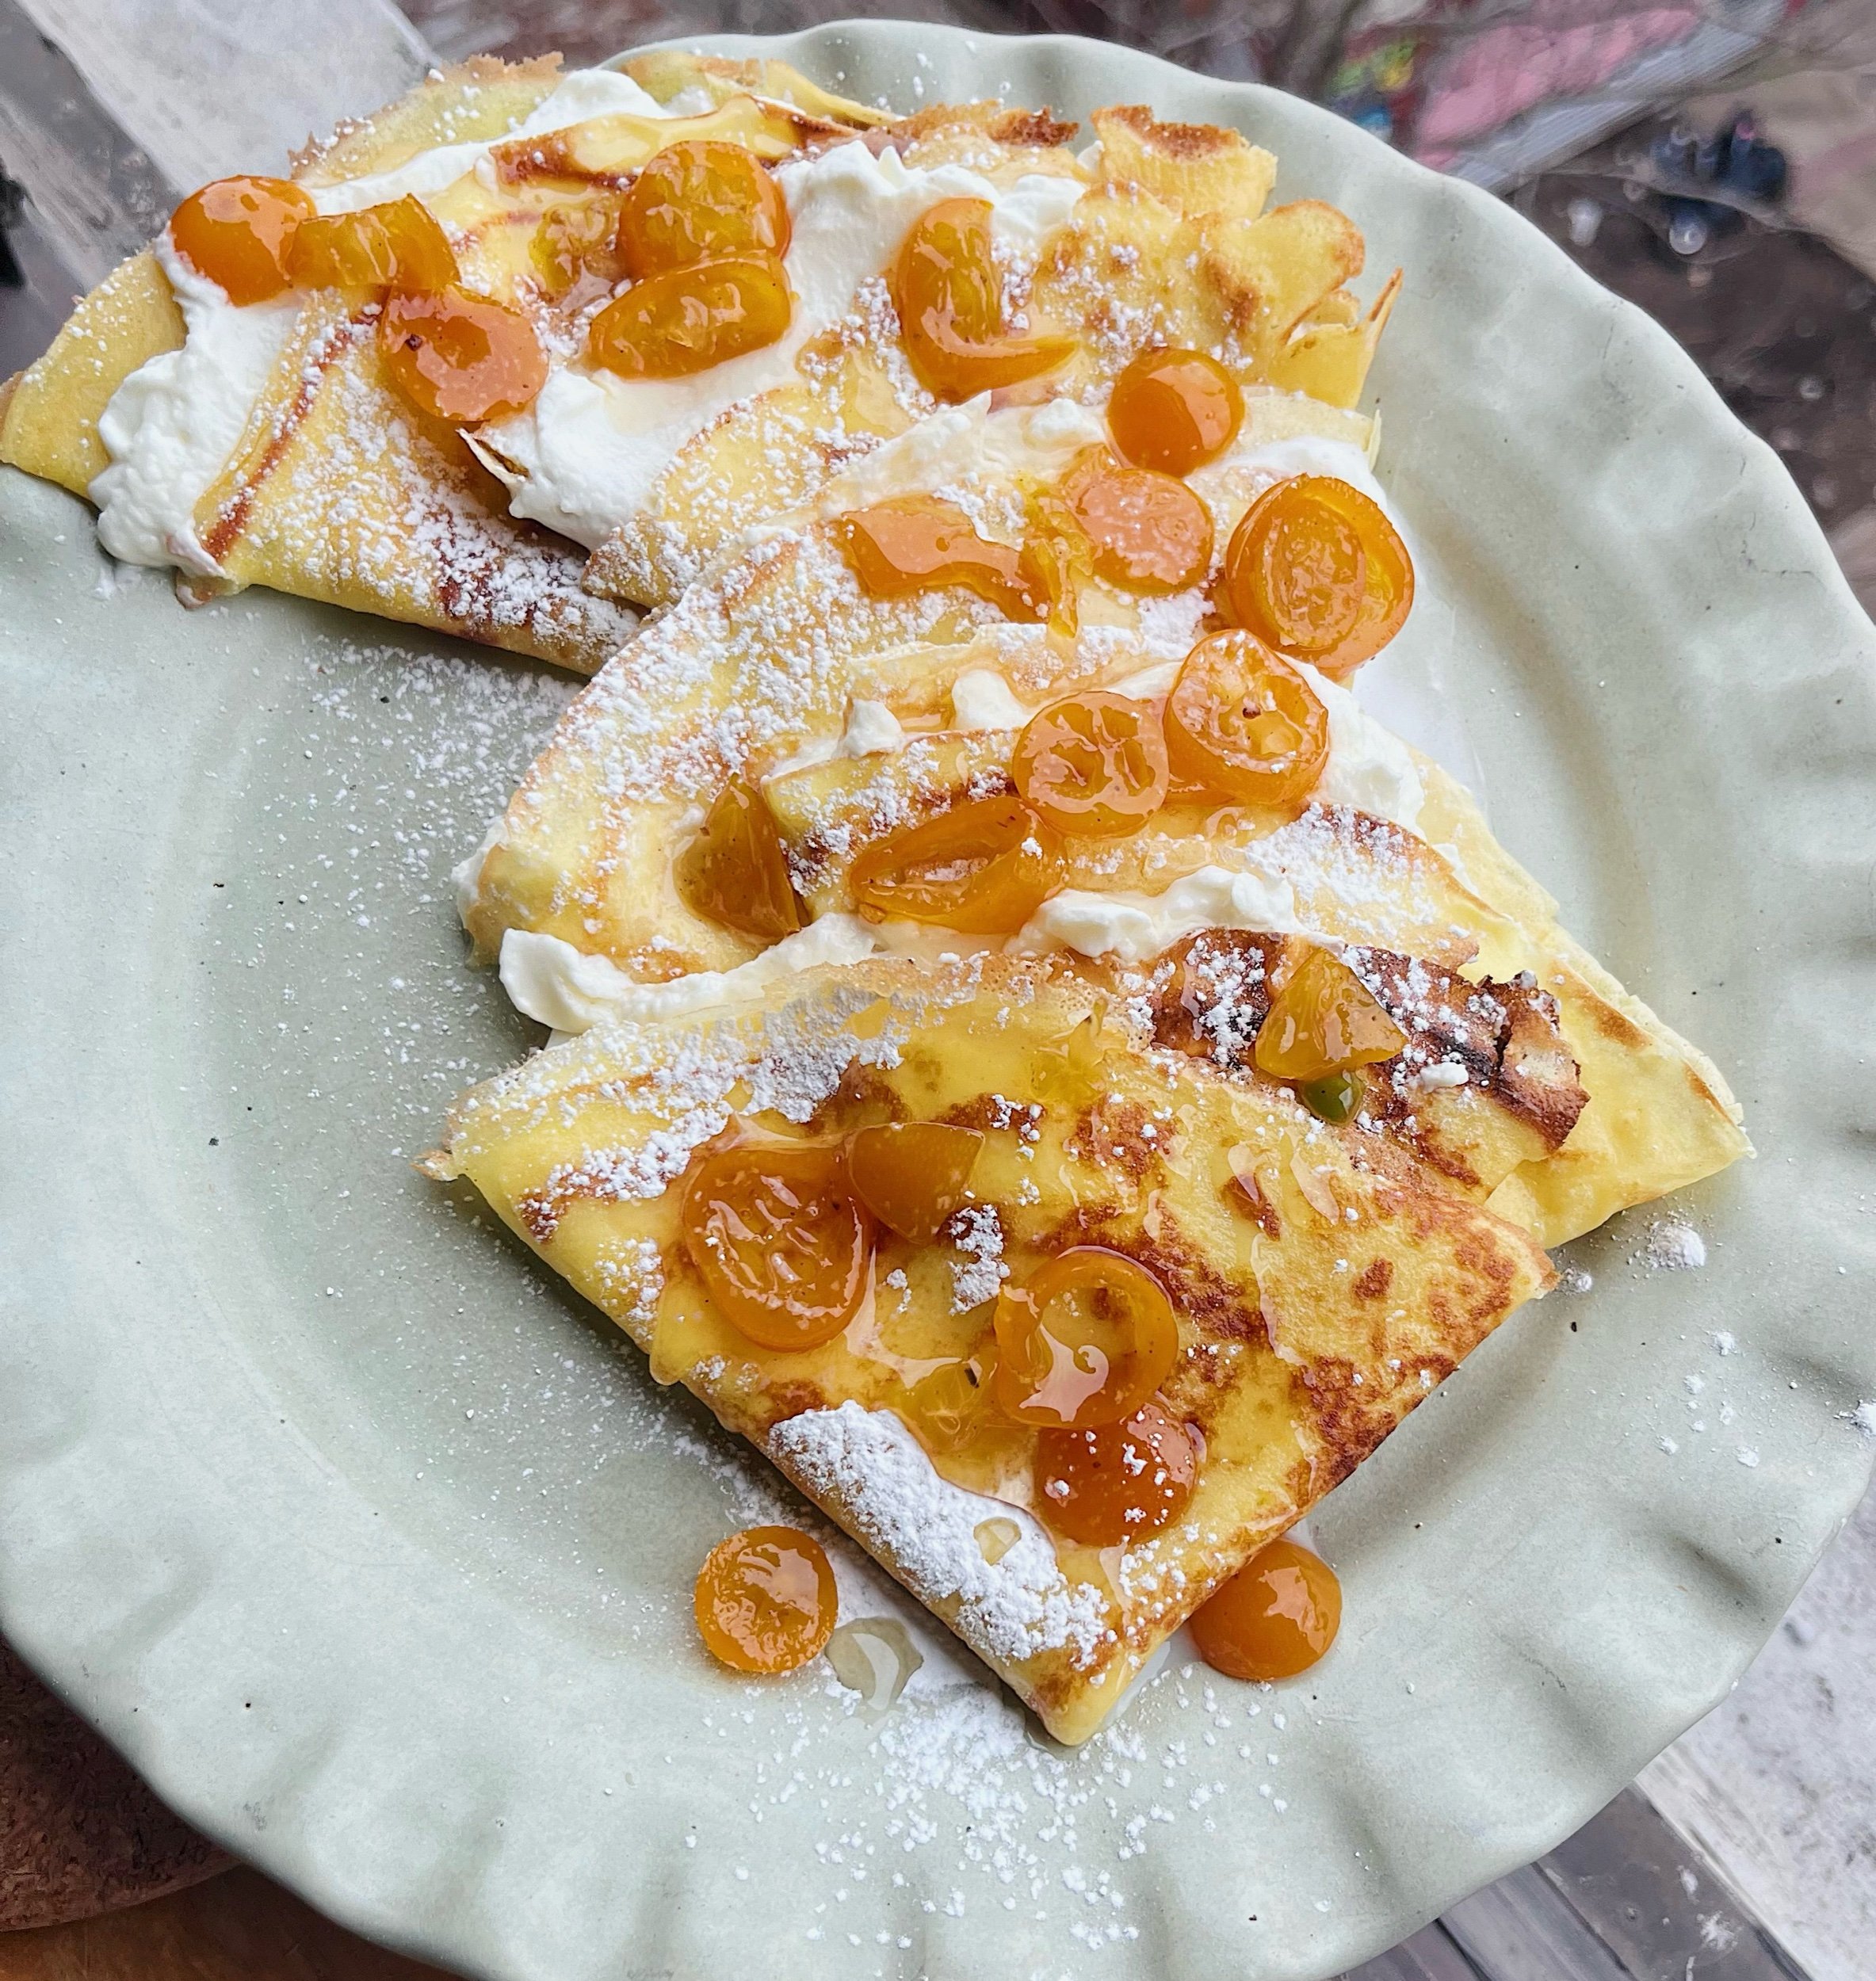
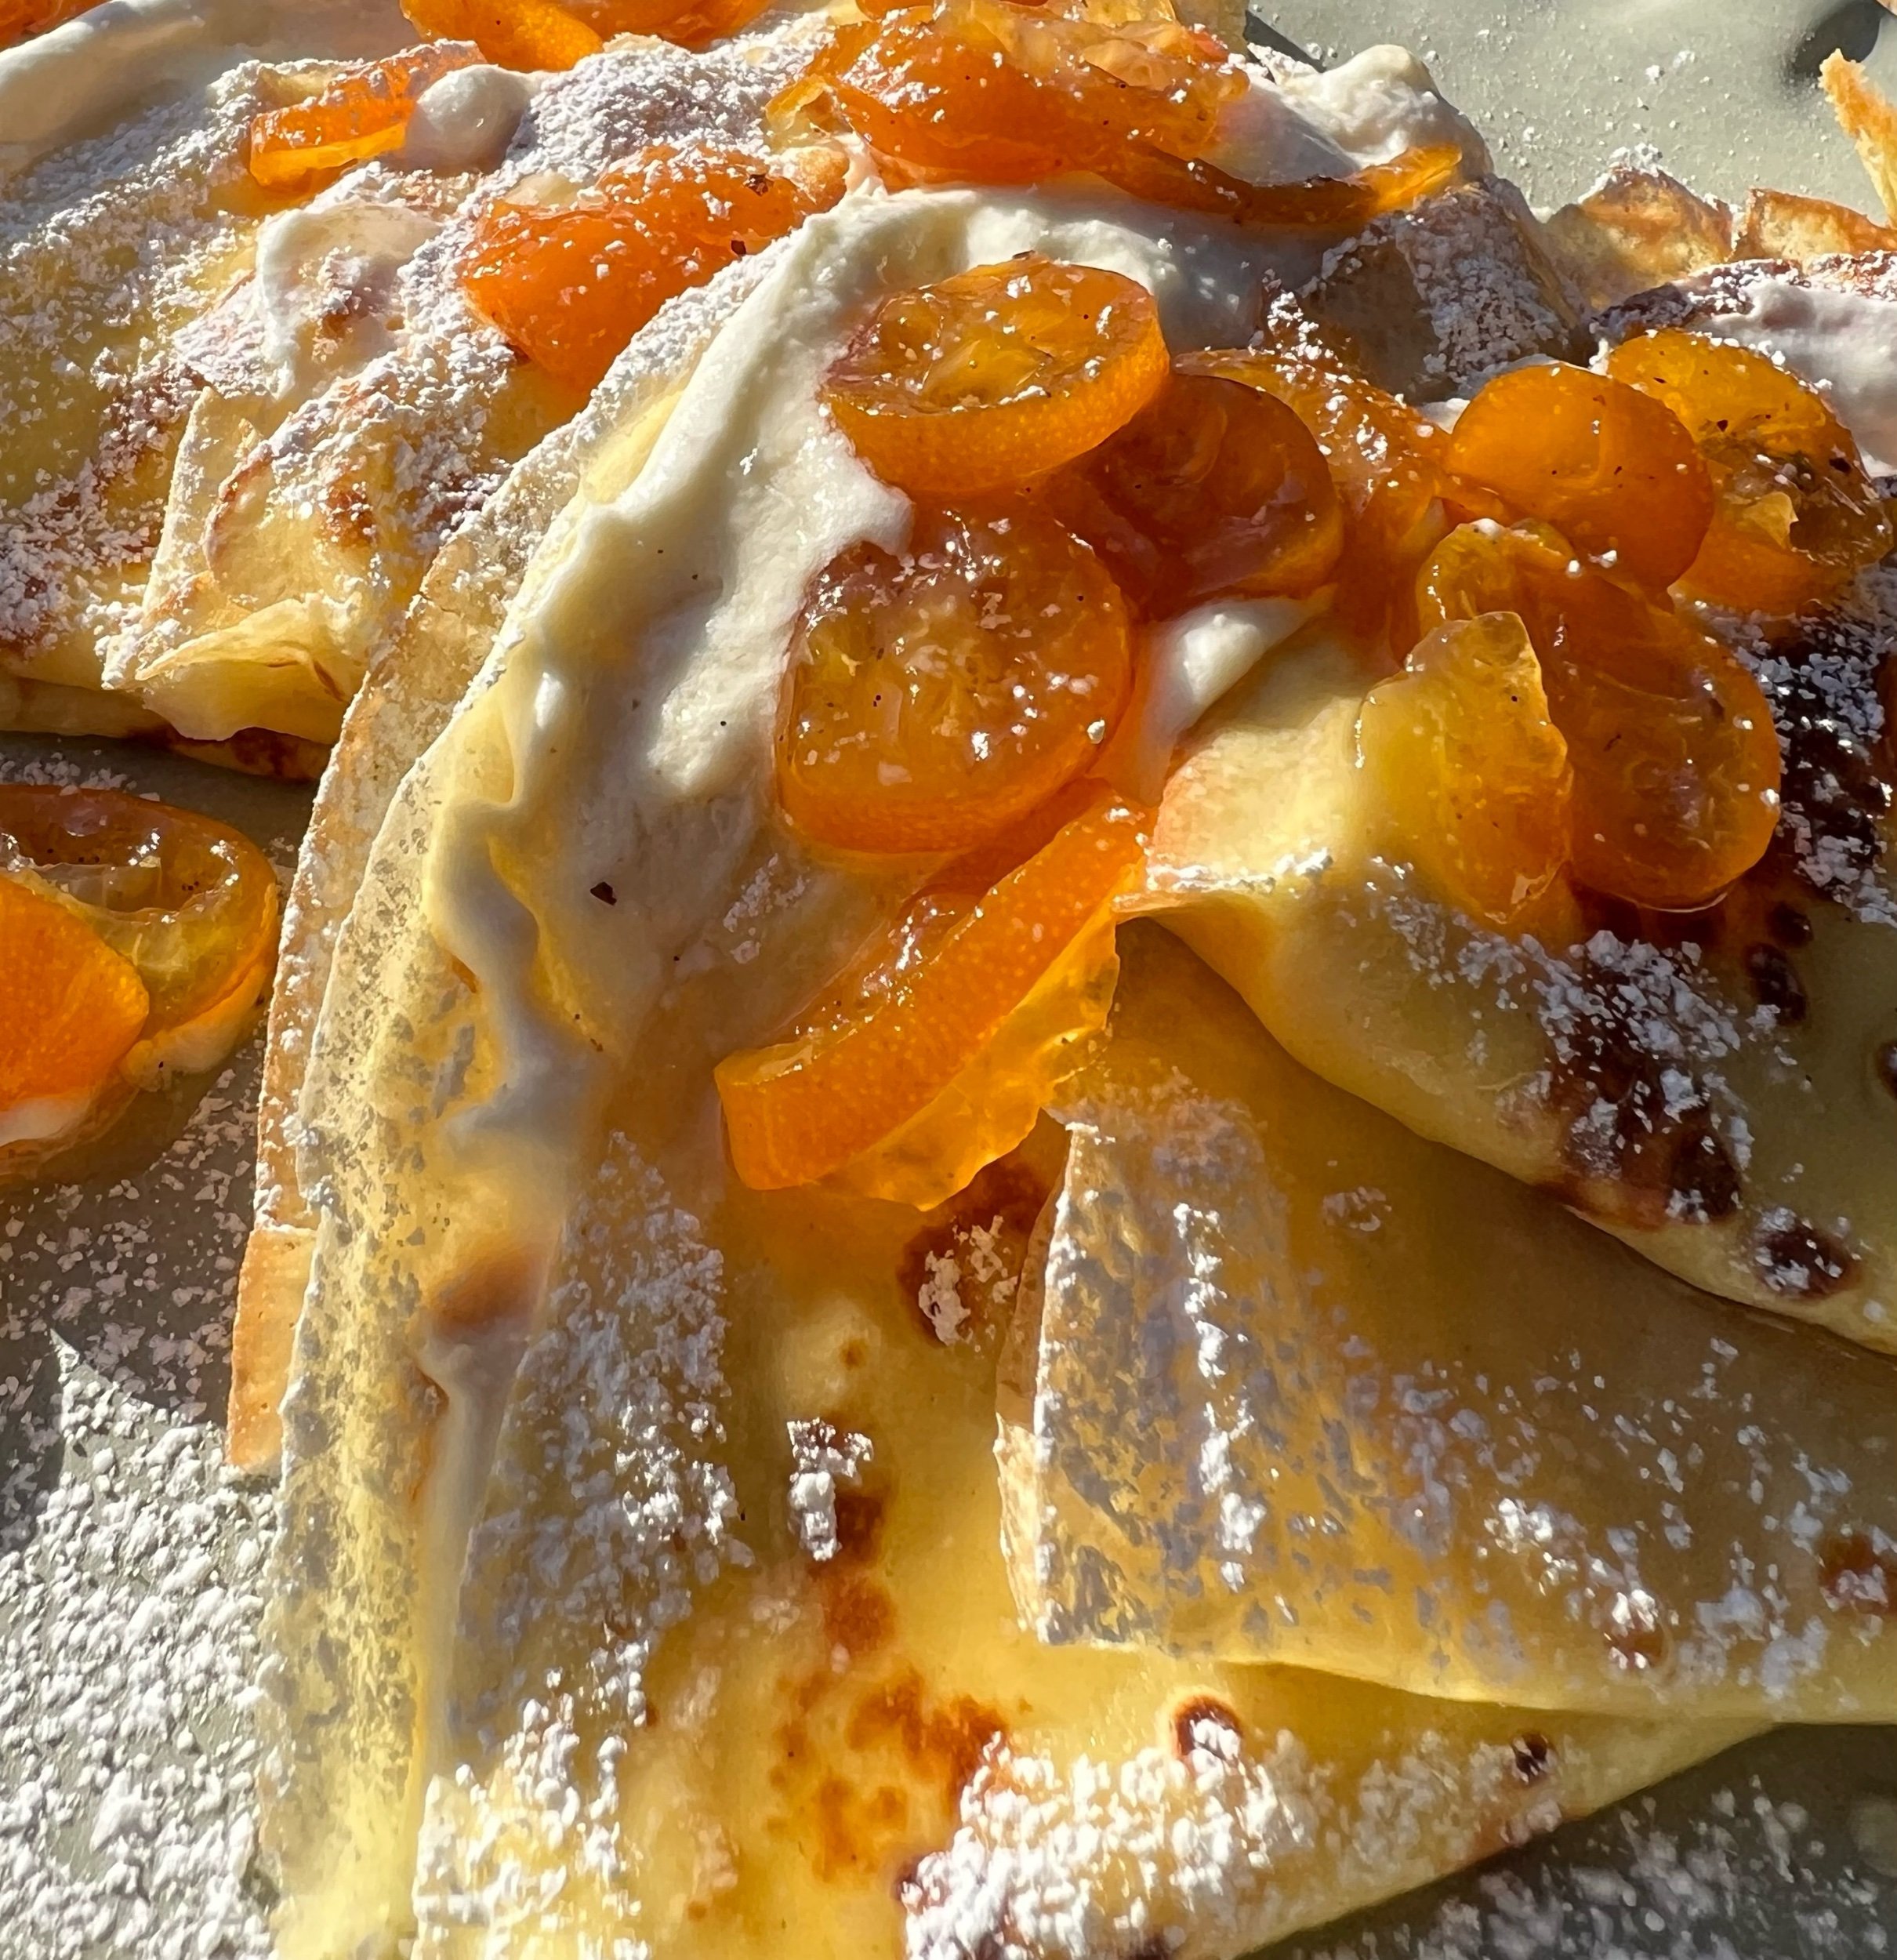
coconut crêpes with candied kumquat simple syrup
— —
So here’s the thing, I had to go to Paris for work recently and let’s just say I’m still very much daydreaming about all the food that was consumed on my trip. You can’t talk about Parisian food without talking about crêpes. This recipe isn’t revolutionary, however when you take time to make the crêpes a little on the crispy side, add a hefty portion of whipped coconut cream, and a heavy few spoonfuls of candied kumquat..phew, these crêpes are top notch!
— —
Crêpe Ingredients:
1/3 cup all-purpose flour
1/2 cup coconut milk (perhaps a few tbsp extra just in case)
1/2 tsp salt
1 tbsp sugar
1 egg
1 tbsp melted butter
Crêpe Process:
Heat an 8-9 inch skillet over medium heat. Whisk flour, salt, sugar, and egg together in a large mixing bowl; gradually add in milk and water, stirring to combine. Add melted butter; beat until smooth. To your lightly oiled pan, pour or scoop the batter onto the pan using approximately 1/4 cup for each crêpe. Tilt your pan in a circular motion so that the batter coats the surface evenly.
You’ll want to cook the crêpes until the top is no longer wet and the bottom has turned light brown, 1 to 2 minutes. You’ll also notice the edges will start to pull away from the pan a bit. You can run a spatula around the edge of the skillet to loosen the crêpe (or be like me and just use your fingers, but be careful not to burn yourself), then flip and cook until the other side has turned light brown, about 1 minute more. Stack all of your cooked crêpes in a pile until it’s time to fill with coconut cream or any other goodies you have in mind.
— —
Whipped Coconut Cream Ingredients:
1 can full-fat chilled coconut milk
1/4 cup confectioners sugar or a few tablespoons of maple syrup
1 tsp vanilla extract
1 tbsp lemon zest
Whipped Coconut Cream Process:
Open your chilled can of coconut milk and scoop out the hardened coconut cream at the top into a chilled mixing bowl. I highly recommend placing your can of coconut milk in the refrigerator the day before to ensure it’s perfectly chilled through. Pour the coconut water that’s left at the bottom of the can into a separate storage container and use for something else cutie!
Using a hand mixer, kitchen aid, or even a whisk to fluff up the coconut cream for a few minutes (doing this by hand may take some major elbow grease, but it’s worth it). Add your sweetener of choice, vanilla, lemon zest and mix for an until smooth and luscious. If it's too firm, you can add a few tablespoons of leftover coconut water, and if its too runny, you can add more confectioners sugar or any leftover solid coconut cream. I would use this coconut cream right away as a filling for the crêpes, but you could also put this stuff on just about anything. It doesn’t save very well, so I would try to use all of it up when preparing.
— —
Candied Kumquats Ingredients:
1 cup kumquats, sliced thinly
1 cup granulated sugar
1 cup water
1/4 cup mild honey
2 tbsps elderflower cordial
1 vanilla bean, split in half and scraped
Candied Kumquats Process:
Thinly slice kumquats and set aside. Combine the sugar, water, honey, elderflower cordial and vanilla bean (seeds included) in a saucepan. Bring to a boil over medium heat, swirling occasionally to ensure sugar is dissolved. Lower the heat, and add in the sliced kumquats. Allow the mixture to a gently simmer and cook for about 3-5 minutes. Turn off heat, and let the mixture steep for 30 minutes or so.
Strain out the kumquats and vanilla bean, then add into a heatproof and sterilizing jar. Return the syrup to a simmer over medium heat, until it thickens This should take about 6-8 minutes. Pour the syrup over the jarred kumquats and vanilla bean and let cool to room temperature. Cover and refrigerate until chilled through. The candied kumquats will keep in the refrigerator for up to 5 weeks. Use these babies as a garnish on your crêpes, on top of yogurt, ice cream, oatmeal, or honestly anything at all!
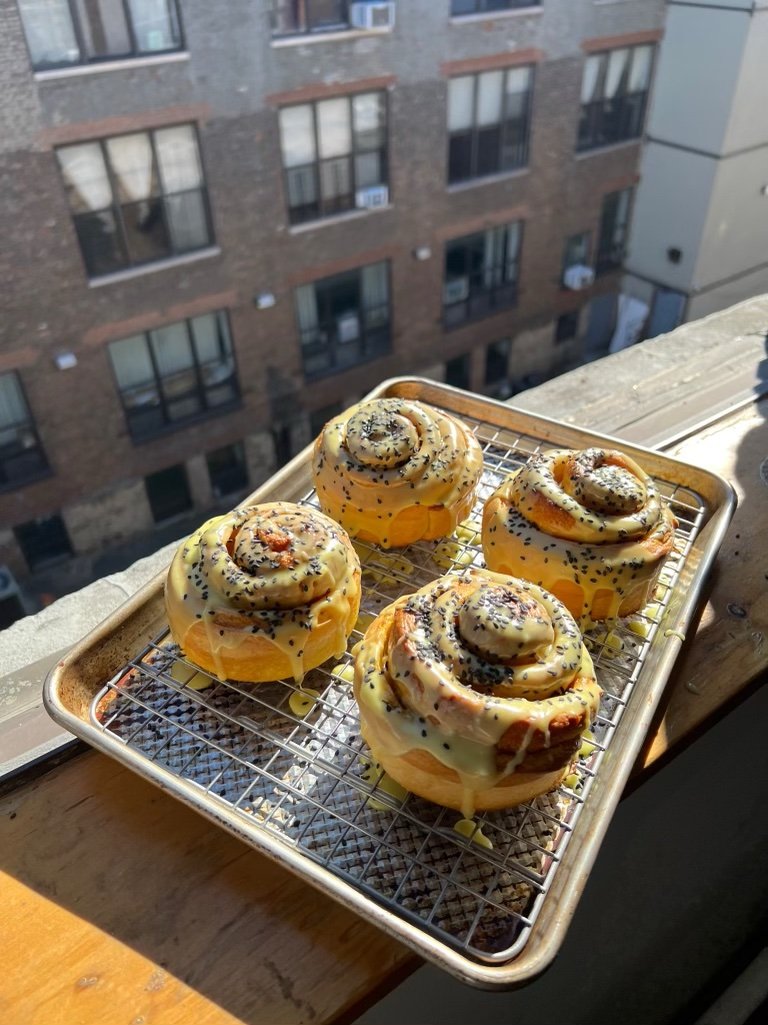
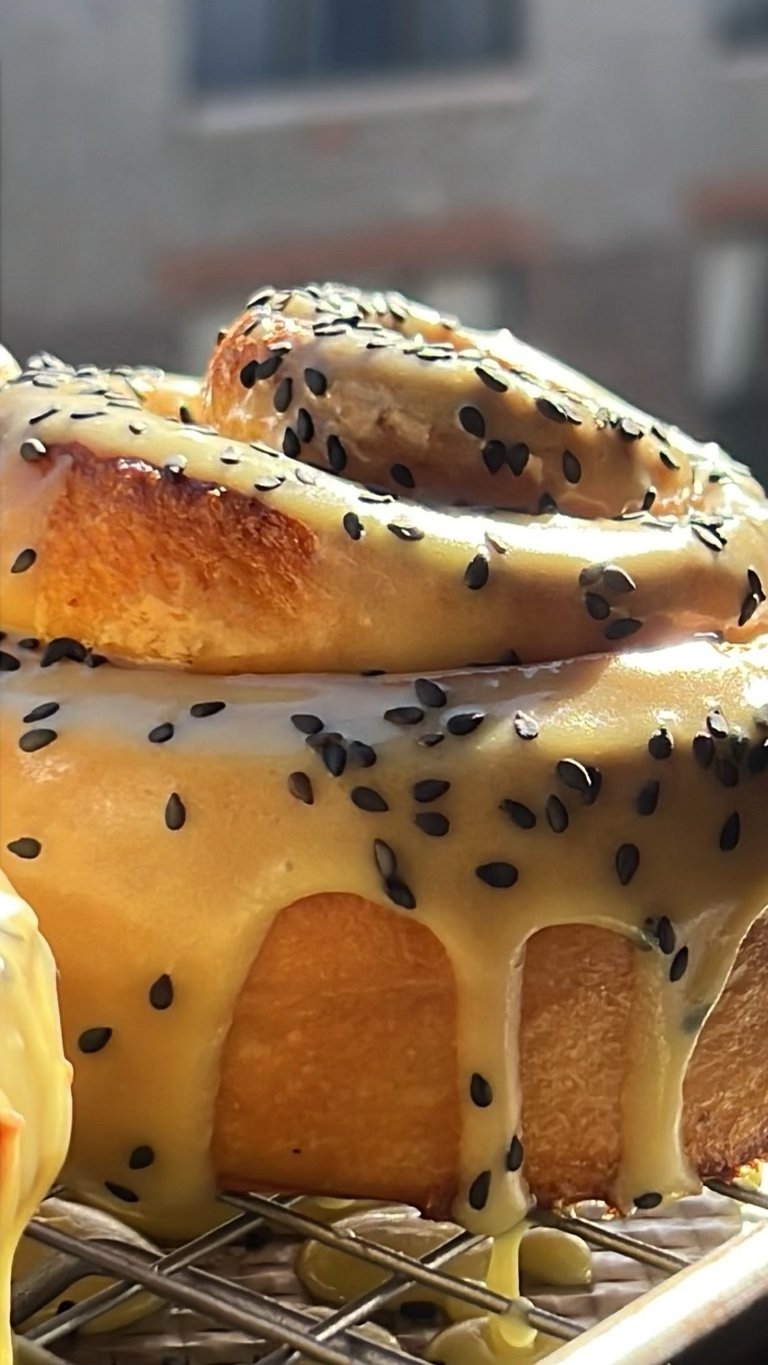

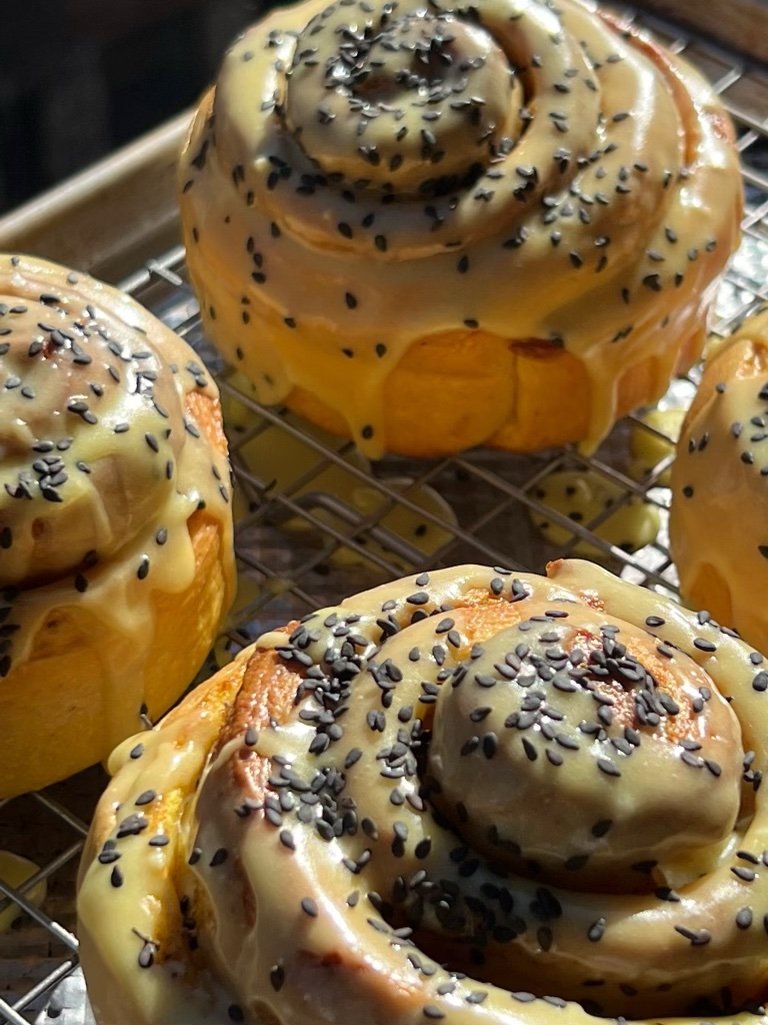
ginger buns with black sesame and turmeric glaze
——
Dough Ingredients
1 cup warm milk (plant based works too!)
4 bags strong ginger tea
1 package quick rise or active yeast
1/4 cup granulated sugar
2 tbsp high quality powdered ginger
2 eggs
¼ cup butter, melted
3 1/4 cups bread flour, plus more for dusting
1 tbsp salt
Dough + Bun Process
Steep the ginger tea in the milk over low heat for 8-10 minutes. Transfer ginger tea milk to bowl of mixer, and sprinkle in yeast. (Highly recommend using a thermometer to make sure mixture isn’t over 110 degrees or it’ll kill your yeast and your mood)
Add in sugar, powdered ginger, eggs, and butter. Mix on low until combined. Attach your dough hook, and gradually add flour and salt. Let dough kneed for 10-12 minutes. It will be kinda sticky, so don’t be tempted to add more flour. If it’s SUPER sticky, you can add 1-2 more tbsps of flour (you can also do this entire process in a bowl and by hand if you don’t have a mixer)
Once kneading is done, lightly oil a bowl, transfer dough, cover with damp kitchen towel, and let rise for 90 minutes. After dough has doubled in size, punch the dough down, and roll out onto a floured surface measuring approx 15 x 10 rectangle.
Spread the filling evenly, and then roll up your dough starting with the 10 inch side. Make sure to put the rolled dough seam side down to make cutting easier. Try your hardest to cut the dough into one inch sections. You can use a sharp knife, dental floss, guitar string, basically anything you want as long as it’s clean lol
Now you can totally do this the way you normally would, and just place your sliced ginger buns in a greased and parchment lined 9x9 casserole dish and let them go through the second rise that way, however I actually like placing the sliced buns directly only a sheet pan with a 3-4 inch ring mold placed around them. This will give your ginger buns a nice uniform/tight shape, and maybe even a little height, which I think is so very elegant.
Either way you do this, your buns will need a second rise for about 45 minutes before putting them in the oven at 350 degrees for about 30 minutes or just until golden brown and cooked through. It’s important that you allow them to cool a bit before topping them with icing, as you want the icing to set a little and not melt all over the place.
I also recommend a little drizzle of black sesame seeds (as pictured) because, why not?!
— —
Filling Ingredients
5 tbsp butter, softened
3 tbsp black sesame paste
1/2 tsp vanilla powder
1 tsp ground ginger
1/4 cup cane sugar
3/4 cup brown sugar
1 tbsp cinnamon
1 tsp salt
Filling Process:
Blend all ingredients together, until paste forms. Set aside. This filling with the ginger flavor from the cinnamon buns is just absolutely INSANE perfect. Be careful with being tempted to add too much black sesame as it can be very strong in flavor
— —
Glaze Ingredients:
1/3 cup butter, softened
2 1/2 cups confectioners sugar
1 tsp vanilla extract
2-4 tbsp plant based milk of choice
1/2 tsp turmeric
pinch of salt
Glaze Process:
Cream or whisk the butter, vanilla, and turmeric until smooth, then gradually add confectioners’ sugar, and milk. You may need more or less milk depending on what texture you’re going for. Don’t be tempted to add more turmeric, as the flavor can be too intense. This glaze is absolutely delicious and can be used for loads of things, this is a good one to keep on deck!
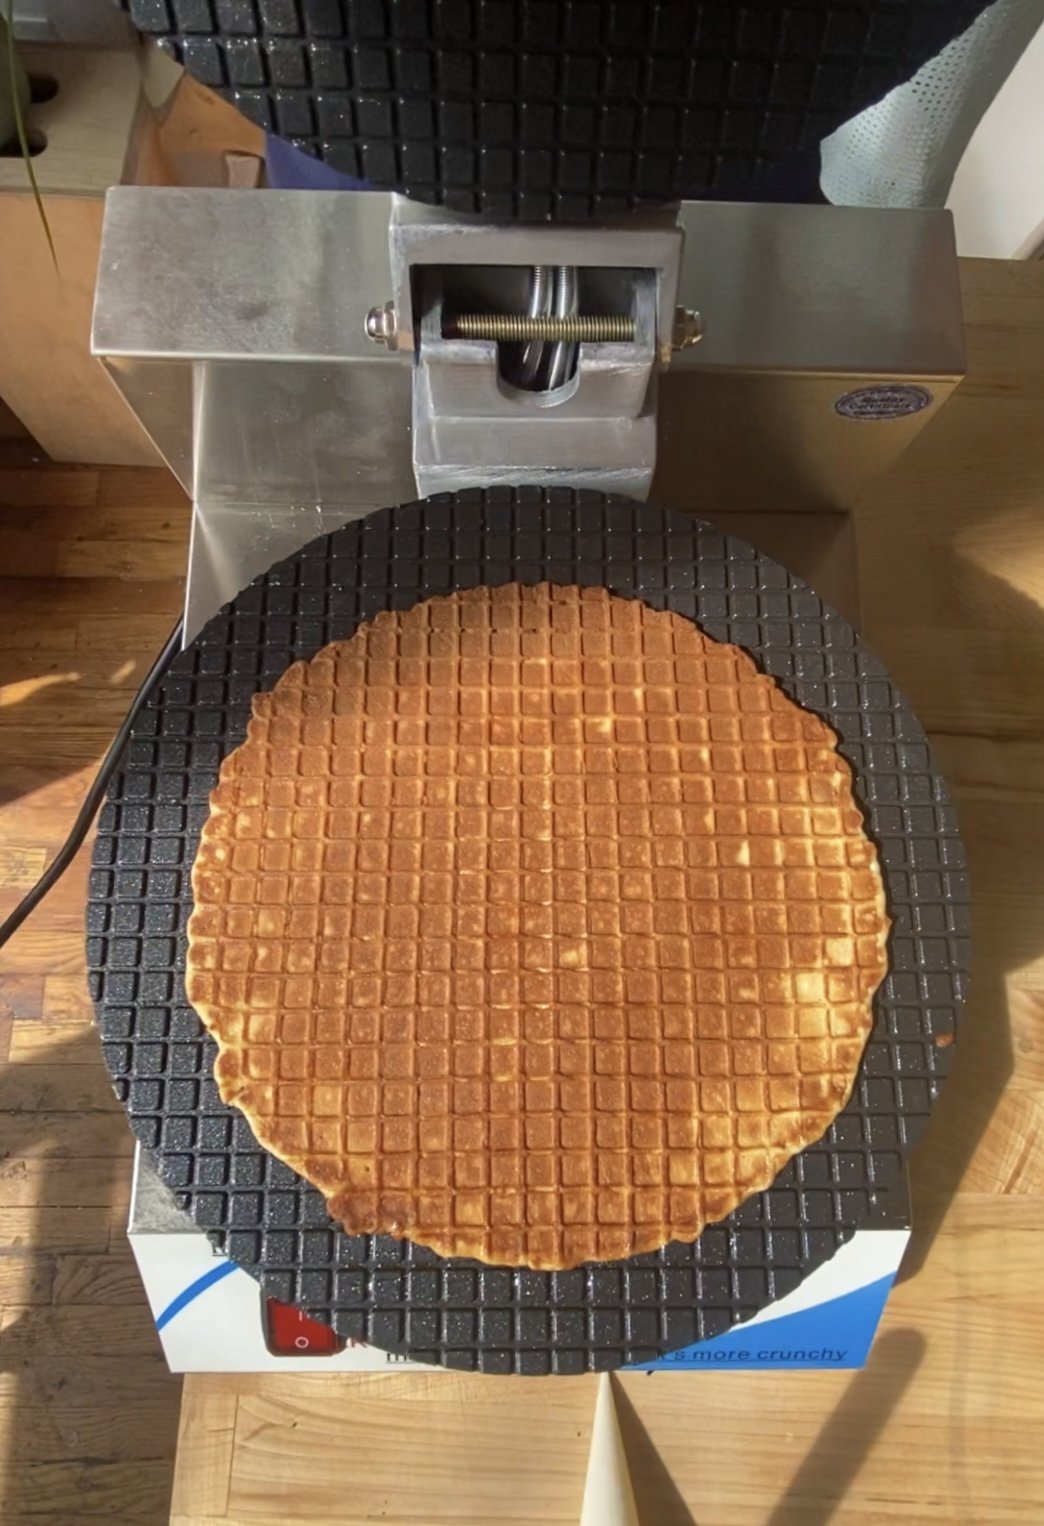
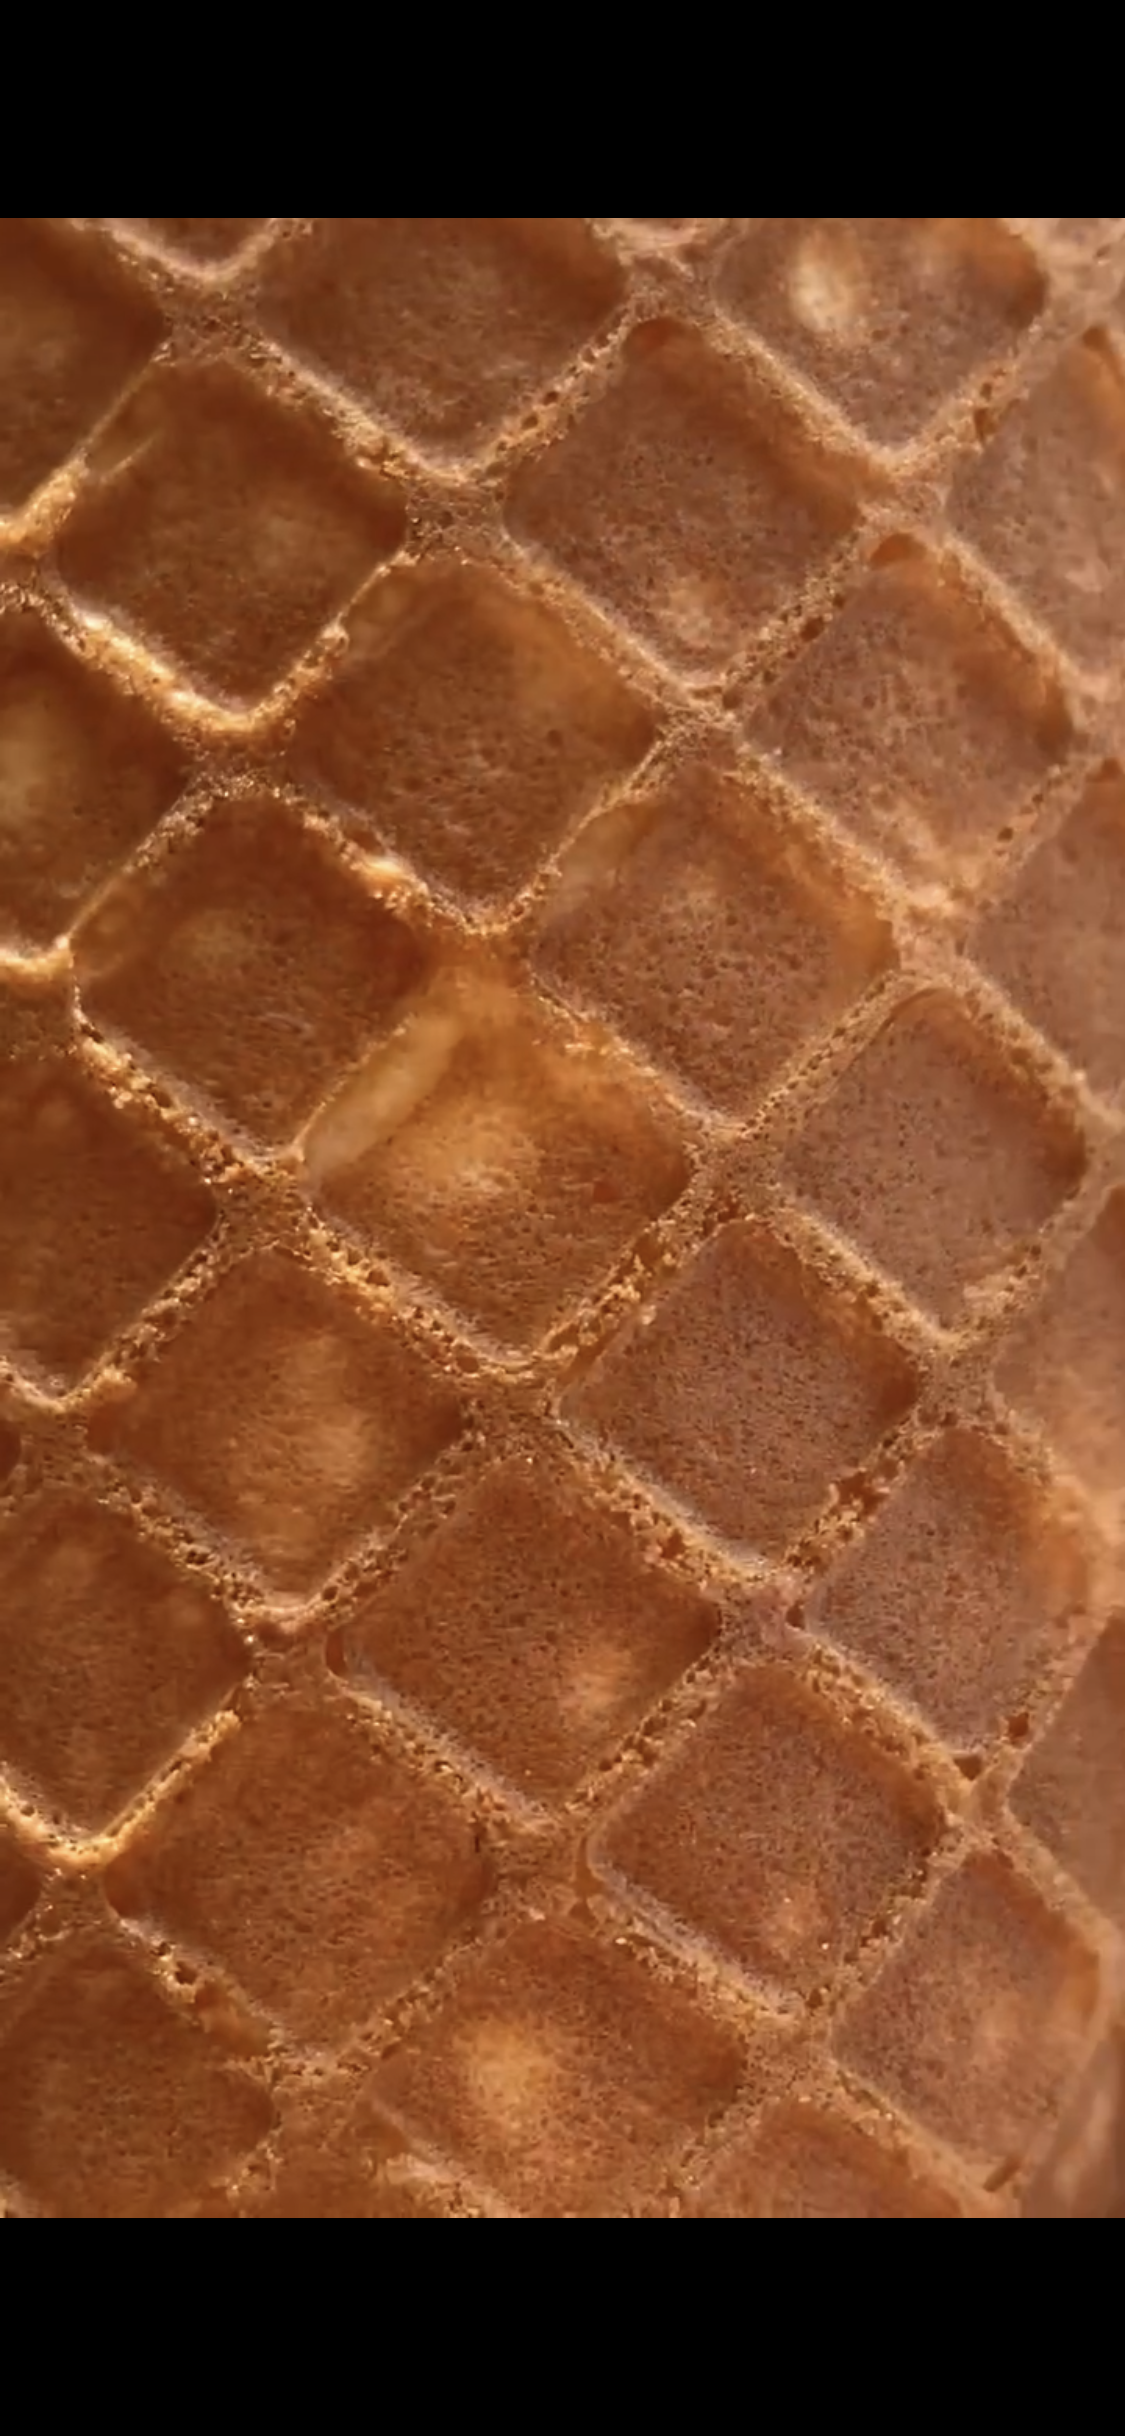
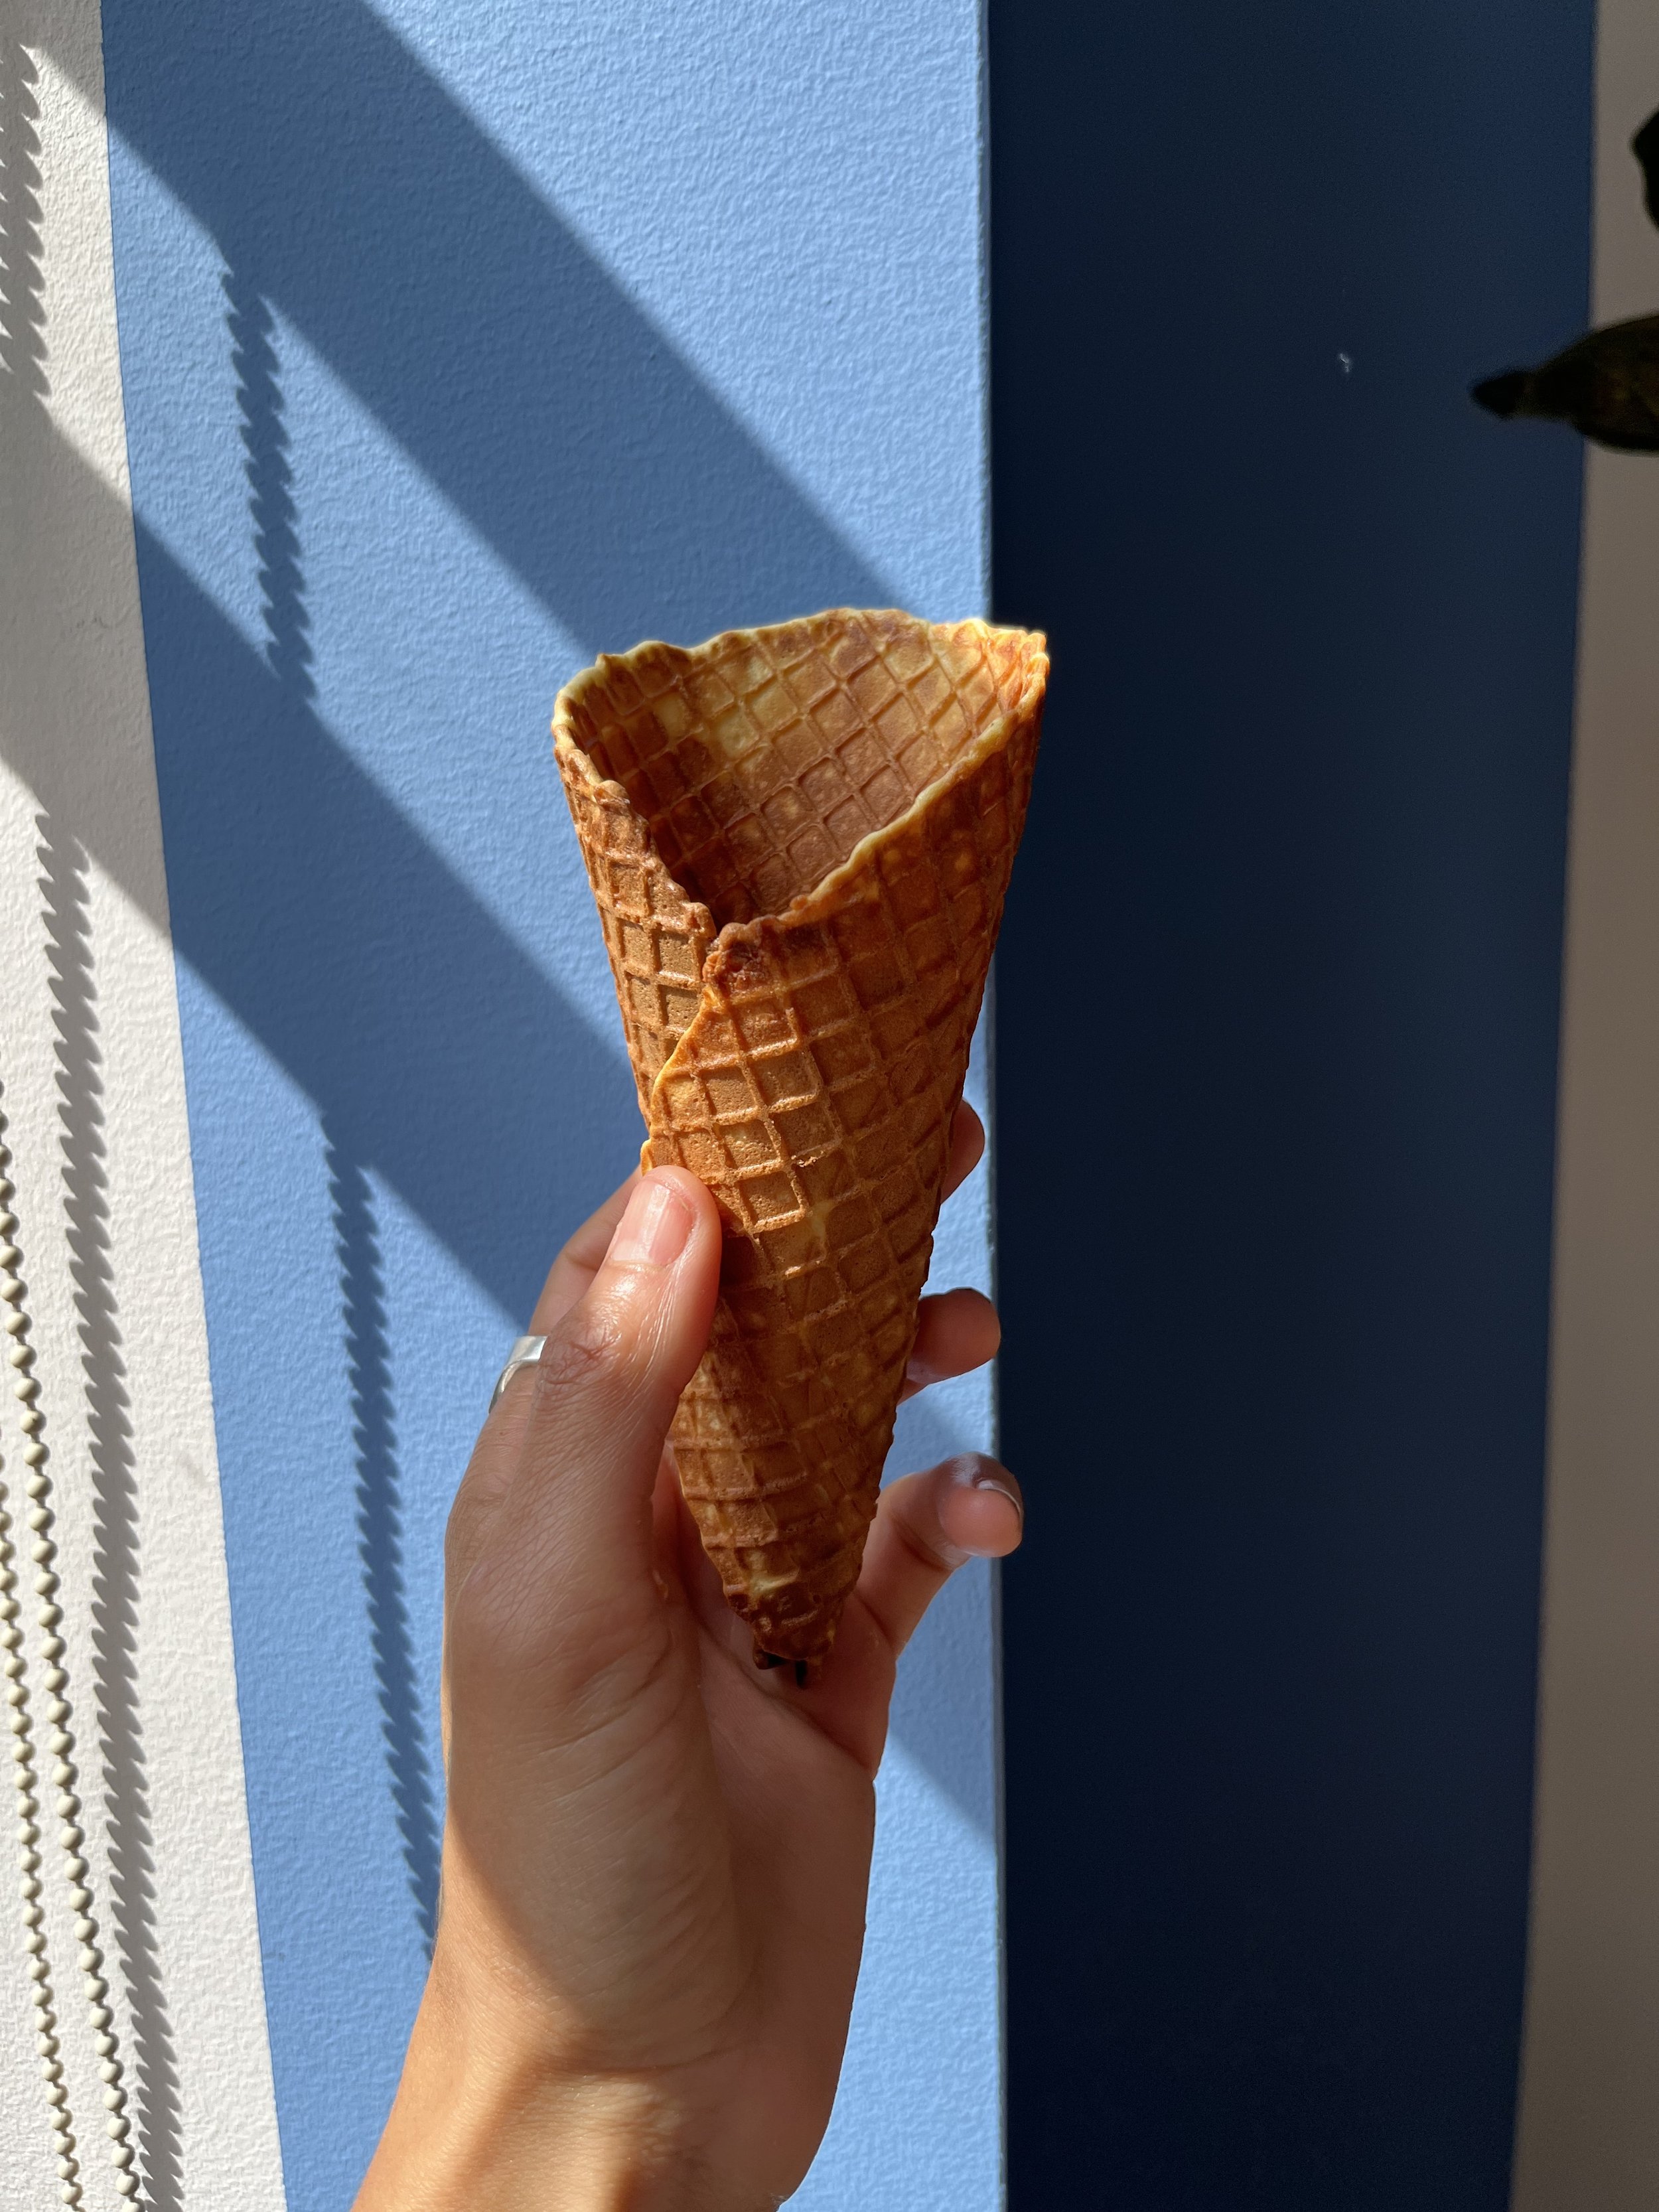

waffle cone
— —
ingredients
2/3 cup all-purpose flour
2 eggs
1/2 cup sugar
5 tbsp melted butter or vegan butter
1/4 cup plant-based or regular milk
1/2 tsp salt
— —
Process
Preheat a waffle-cone maker according to the manufacturer's instructions. Start with heat at 200 degrees F and adjust as necessary, depending on desired color.
In a small bowl, sift together the flour and salt, then whisk together eggs and sugar in a separate bowl until sugar is incorporated, then add melted butter and milk, stir to combine. Add the liquid ingredients into the flour/salt mixture and stir until incorporated.
Spoon a scant 1/3 cup batter onto the waffle-cone maker. Using an offset spatula, spread the batter evenly over the surface. Close the lid and cook for at least 1 minute before lifting the lid to check for doneness. Continue cooking until the desired color is reached, usually around 90 seconds.
Quickly remove the waffle from the waffle-cone maker and shape it around the a cone maker or cylinder form. Hold the cone for a few seconds to set its shape. Set the cone on a parchment-lined baking sheet.
Use immediately or store in air tight container for up to a week.
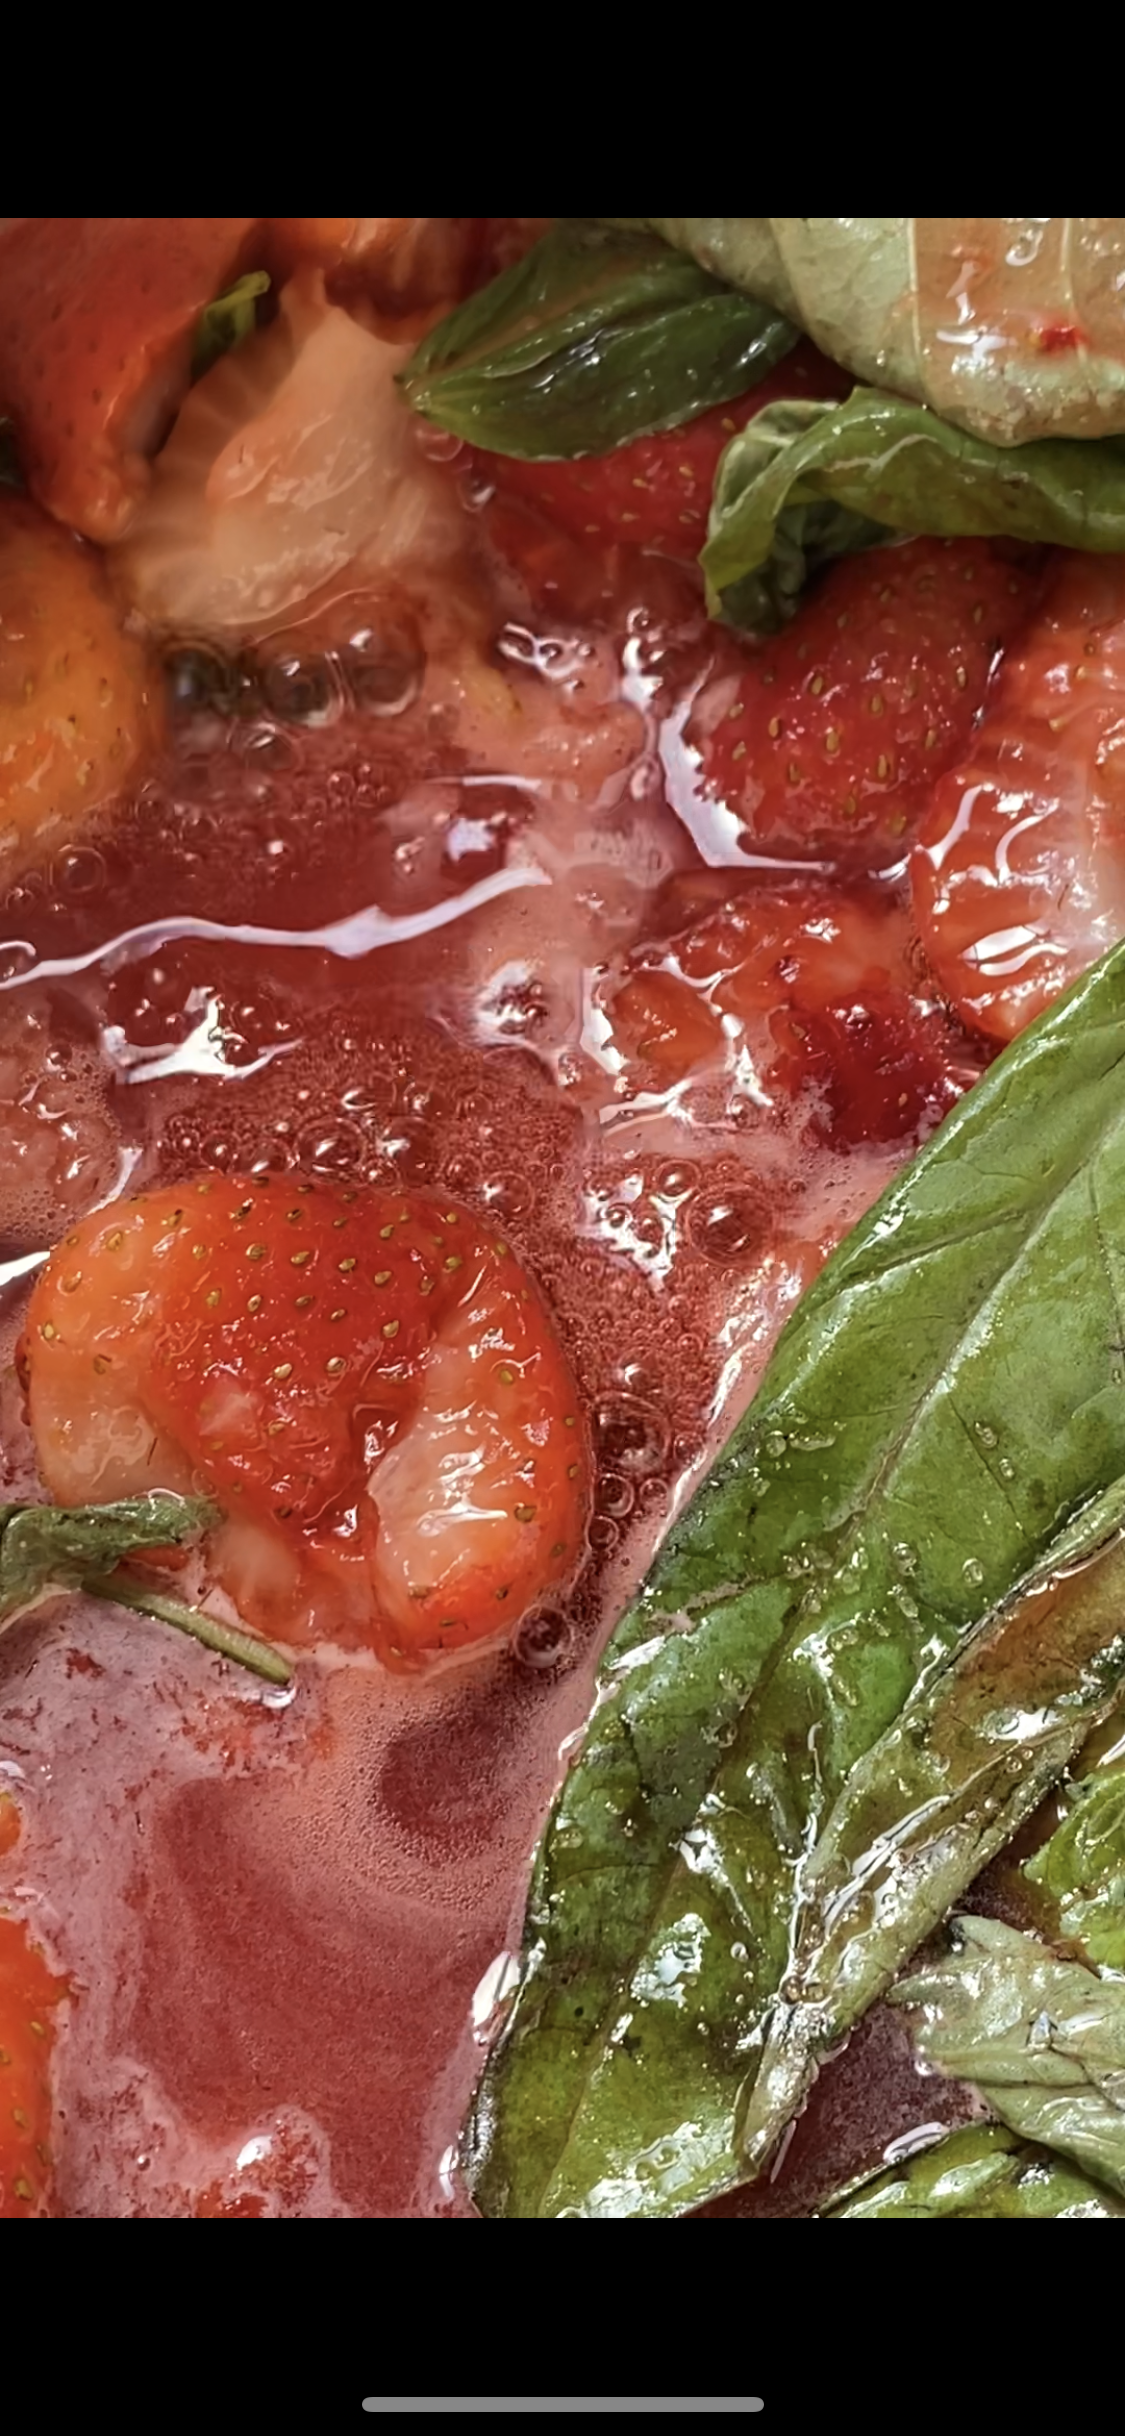
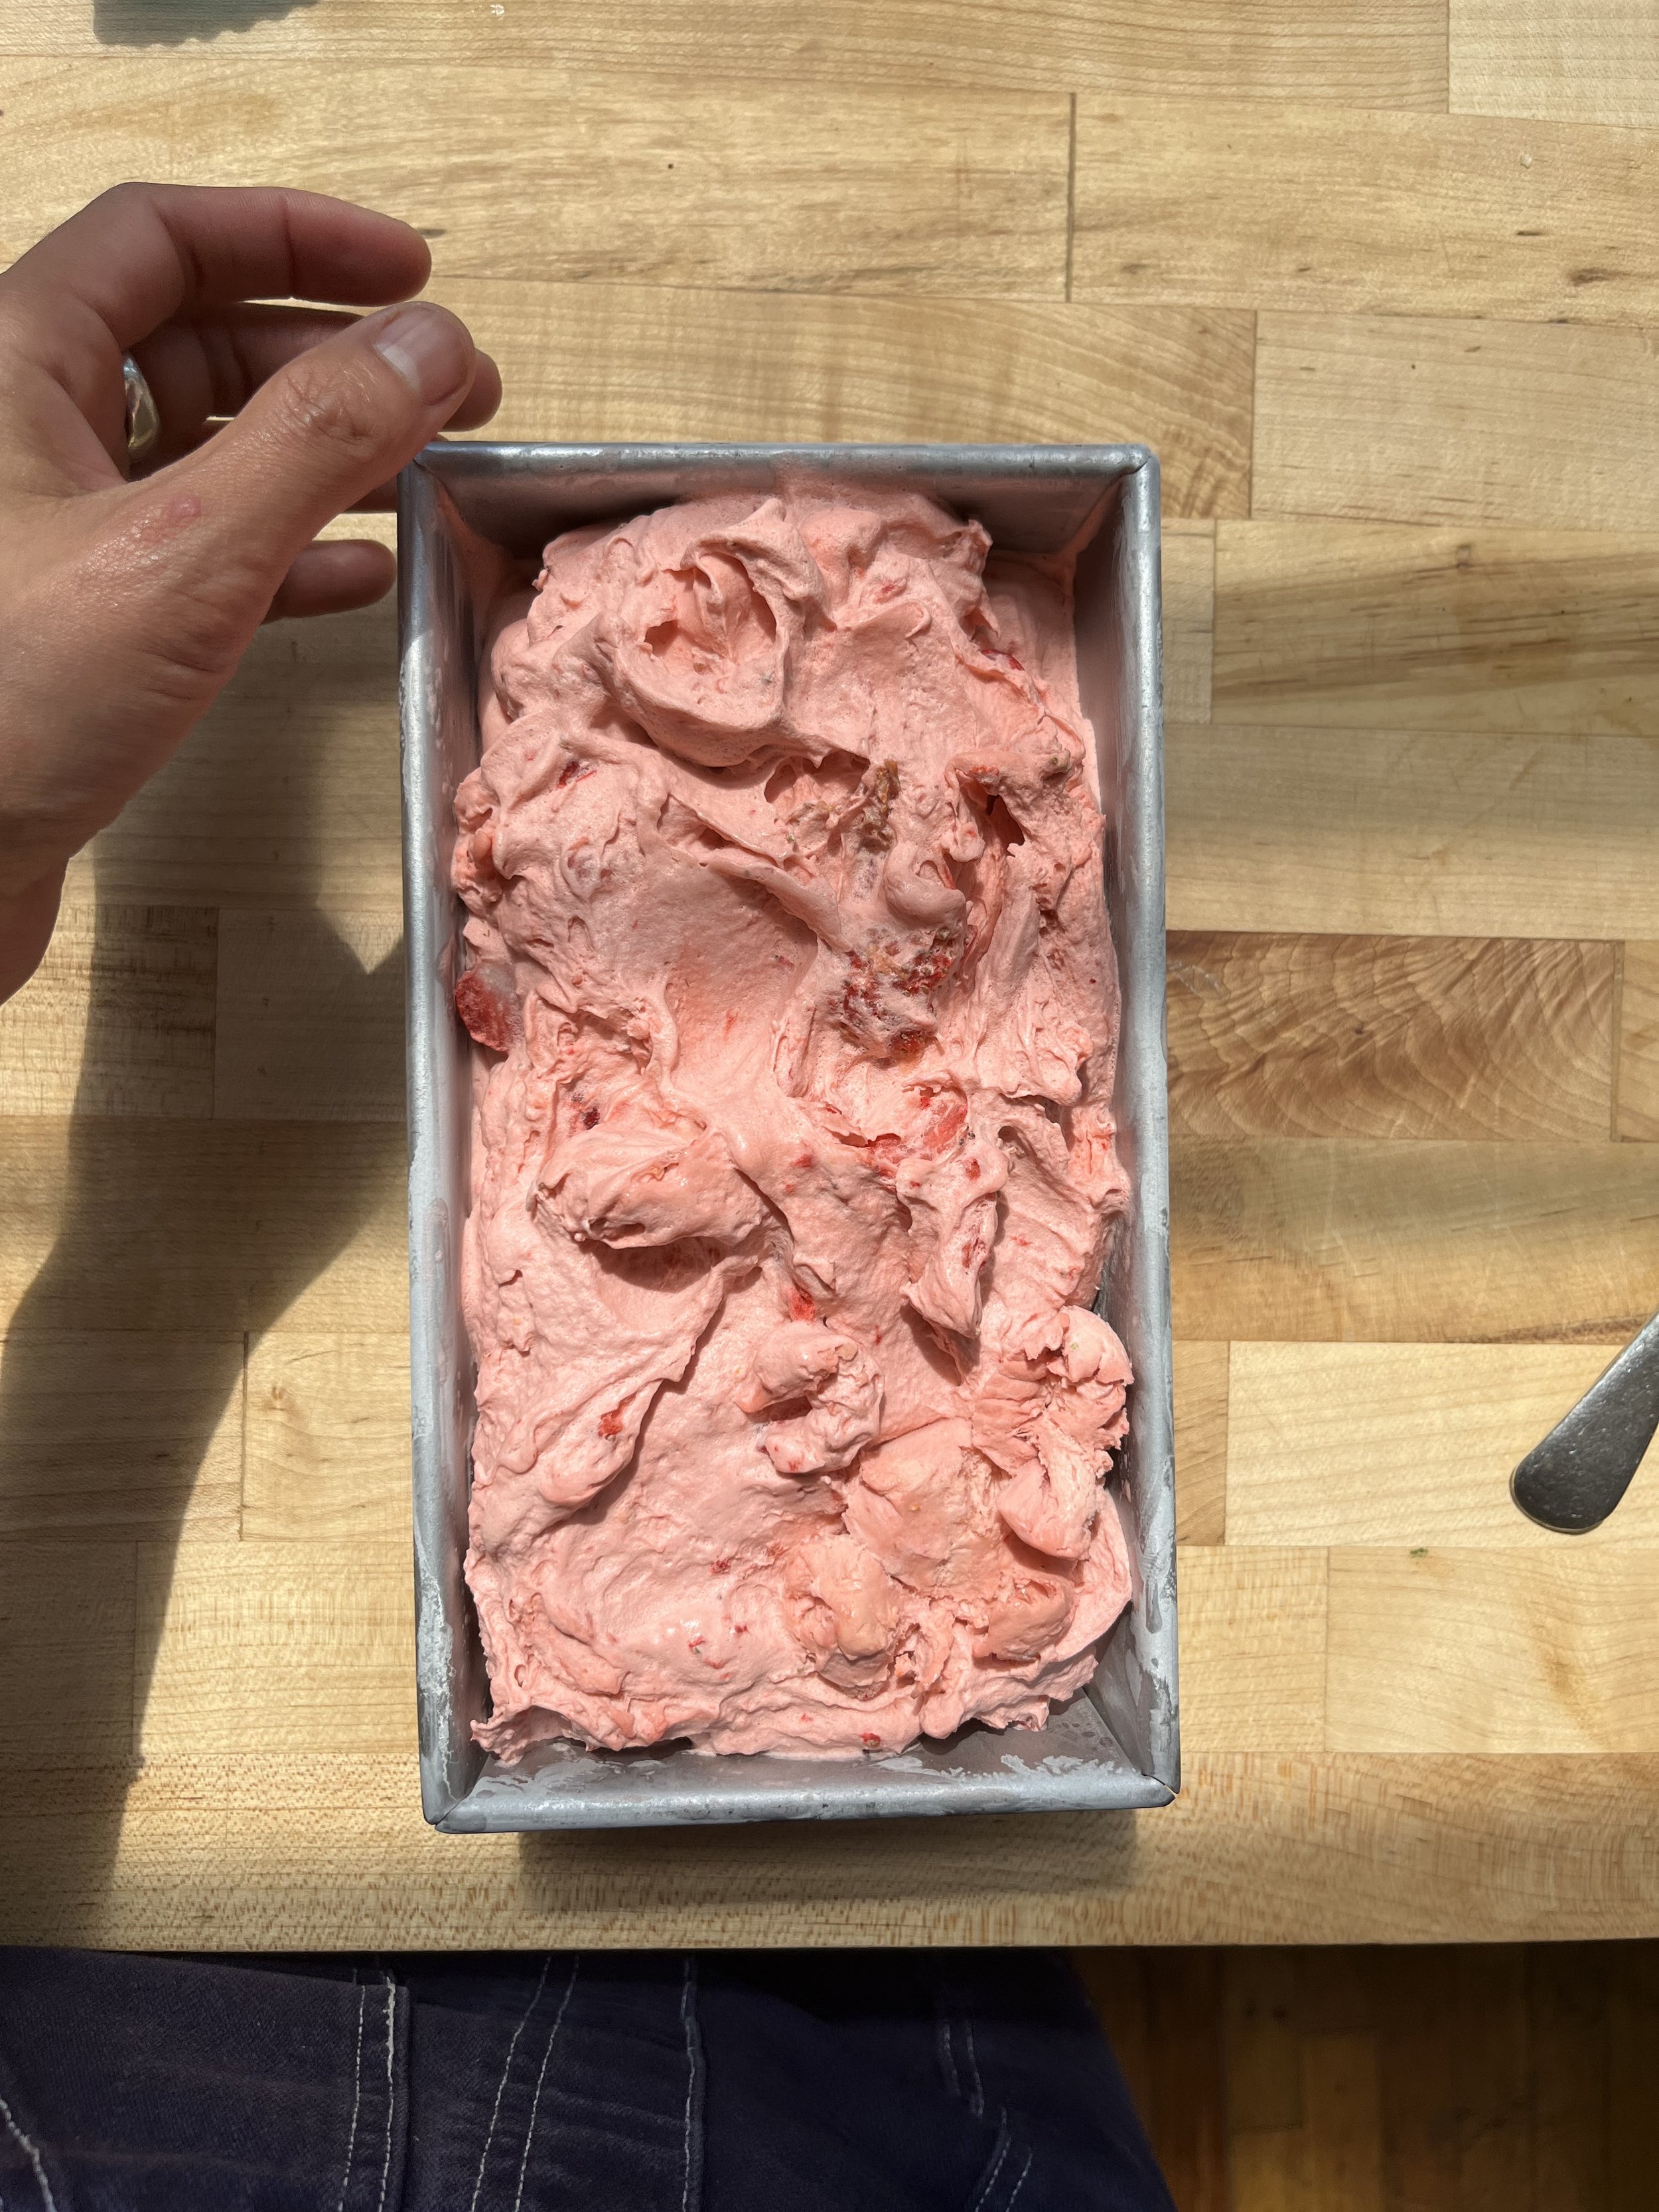

strawberry basil ice cream dreamsss
— —
Confession: I love strawberry ice cream. However, no matter how many plant-based fruit forward ice creams I try..they’re all just not quite right. They’re either too sweet, too hard, too artificial tasting, never with enough strawberries, etc. I figured the best way to develop the perfect strawbrrry ice cream was to go backwards, and just make the absolute BEST strawberry ice cream. This ice cream is packed with dairy, but wow...the addition of the basil and basil oil...truly this ice cream is perfect. Now to develop the vegan version! Stay tuned for my waffle cone tutorial/video/recipe! She’s so special, she needs her own post!
— —
Ingredients
1 cup basil
3 cups fresh chopped strawberries, seperated
2 cups organic heavy cream
1 cup coconut milk
2/3 cup sugar
3 large egg yolks
1 vanilla bean, split and scraped
1/4 tsp salt
——
Process
Add basil, 1 1/2 cup strawberries, heavy cream, coconut milk, vanilla bean, and sugar to a dutch oven. Cook on low for 10 minutes, or until super fragrant. Take off heat and whisk in egg yolks and salt. Put mixture back on heat until mixture has reached 200 degrees. Take off heat, strain out pieces of basil, and refrigerate ice cream base for one hour.
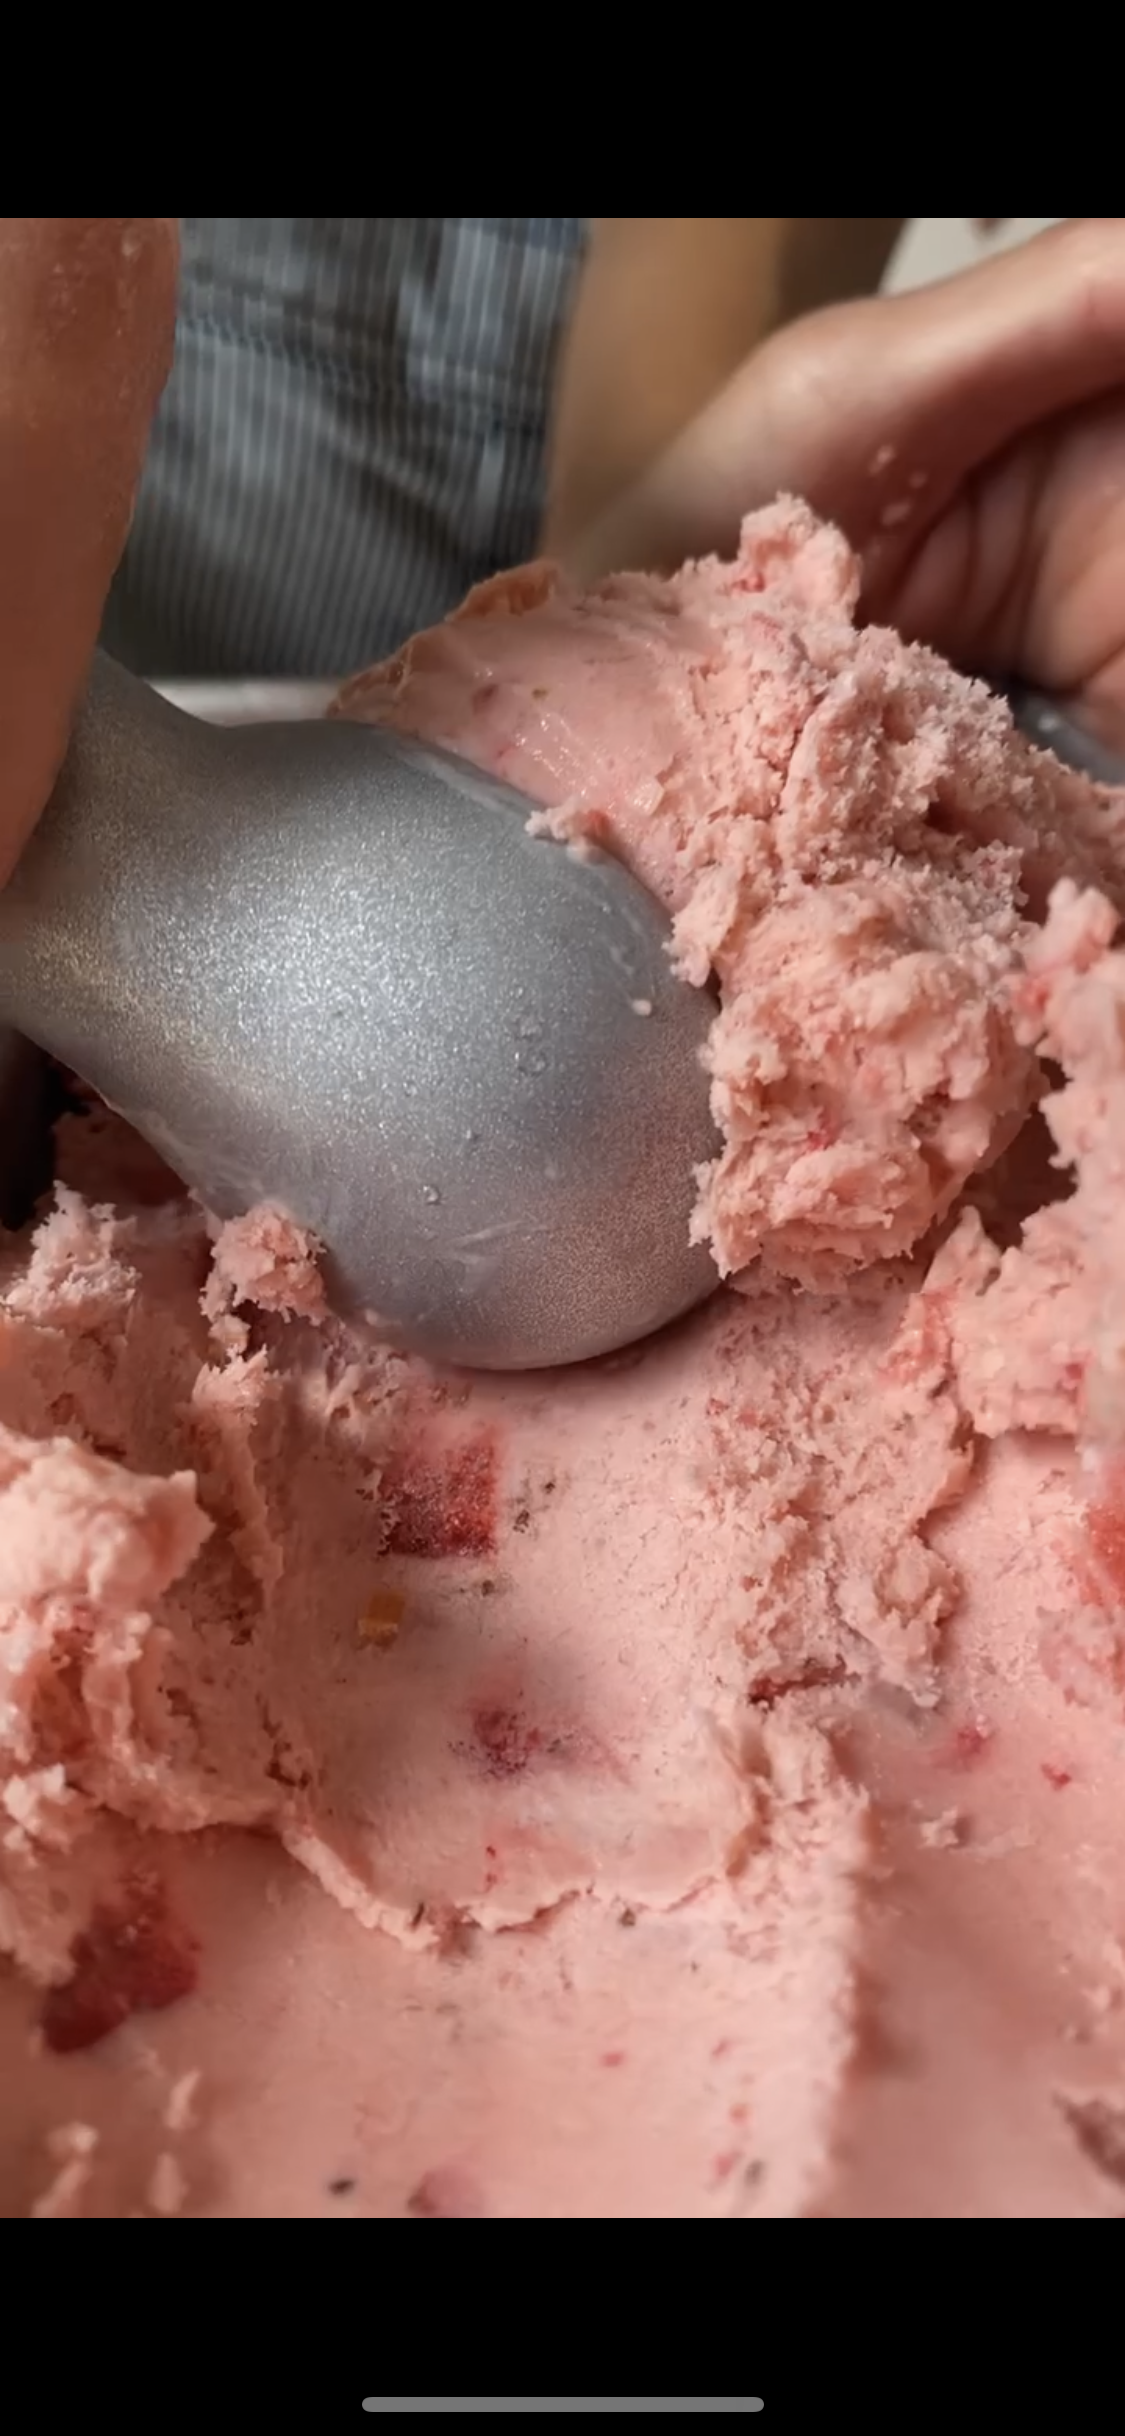
Add to ice cream maker, and follow manufacturers instructions. During the last 2 minutes of churning, add in the other 1 1/2 cup of strawberries. Once finished in ice cream maker, scoop into freezer safe container, and freeze for at least 3 hours. Scoop in a cone, bowl, or just eat right out of the container!
For basil oil: Bring a pot of water to a boil. Blanch 3 cups basil leaves in the boiling water for about 10 seconds. Remove quickly and dunk in bowl of ice water. Remove from ice and squeeze to remove ALL excess water. Roughly chop basil and blend with 1 cup mild olive oil and a teaspoon kosher salt. Let purée settle for about 30 minutes Strain through a cheesecloth or strainer. Use immediately.

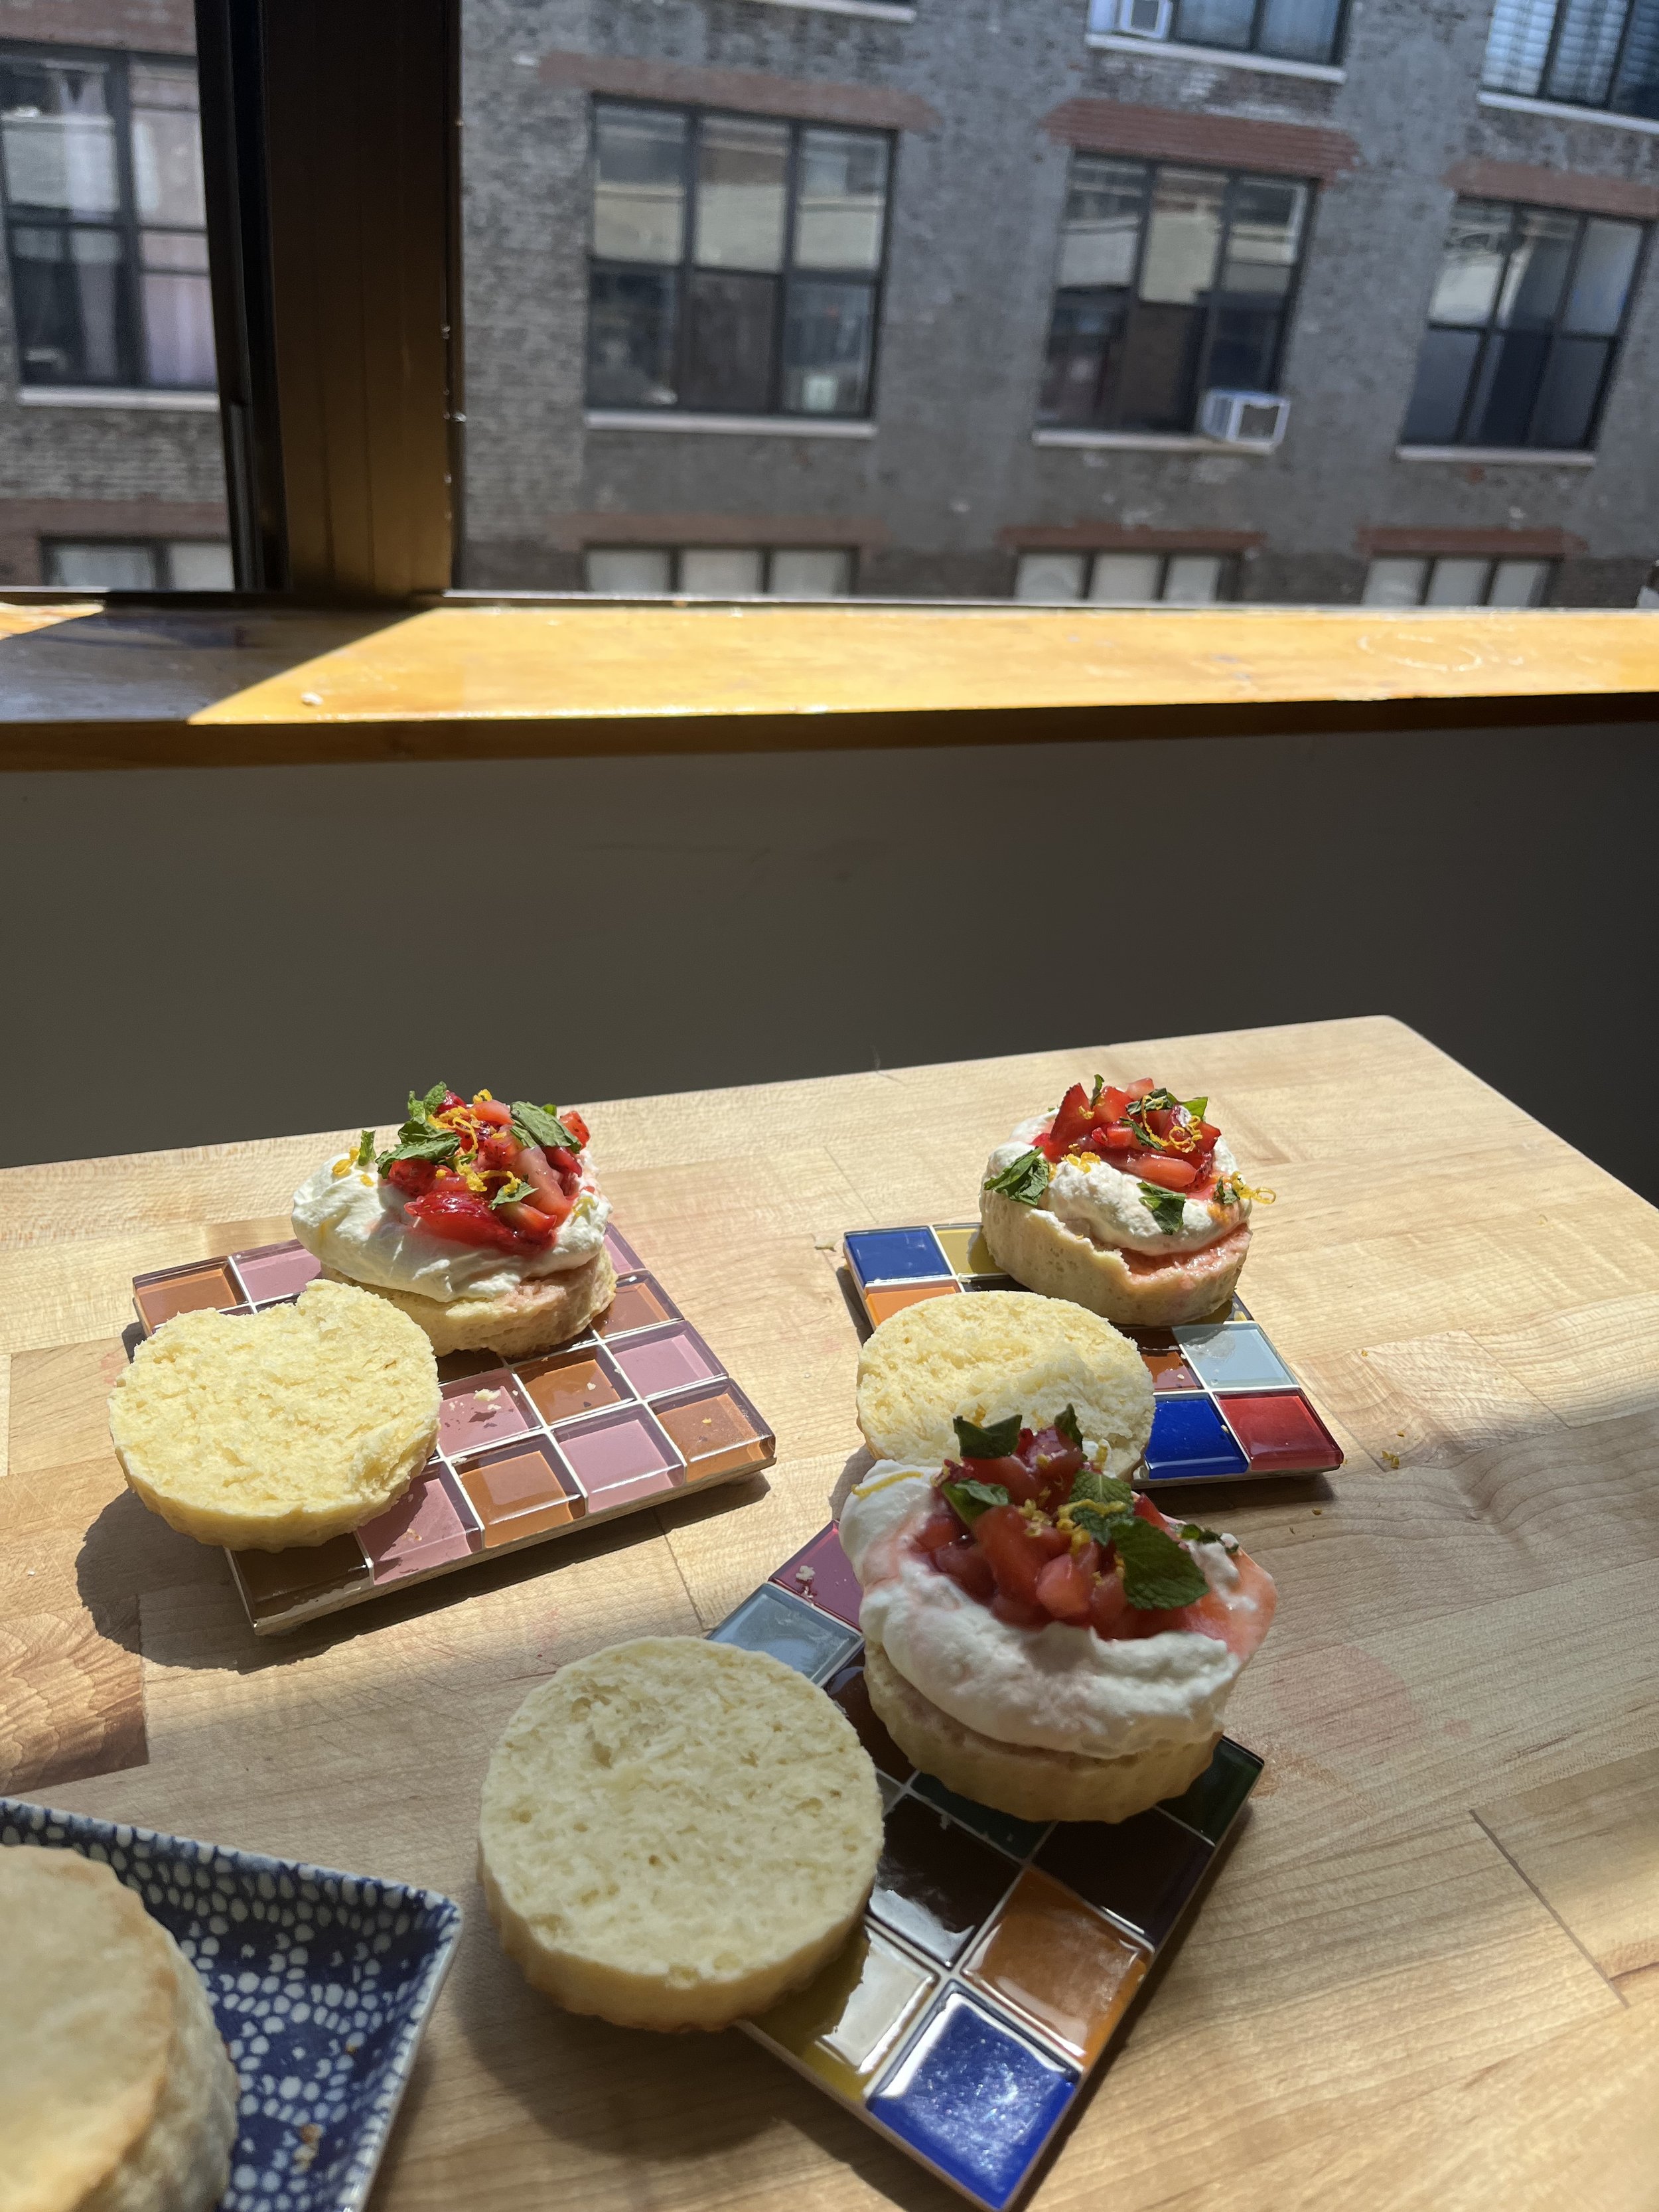
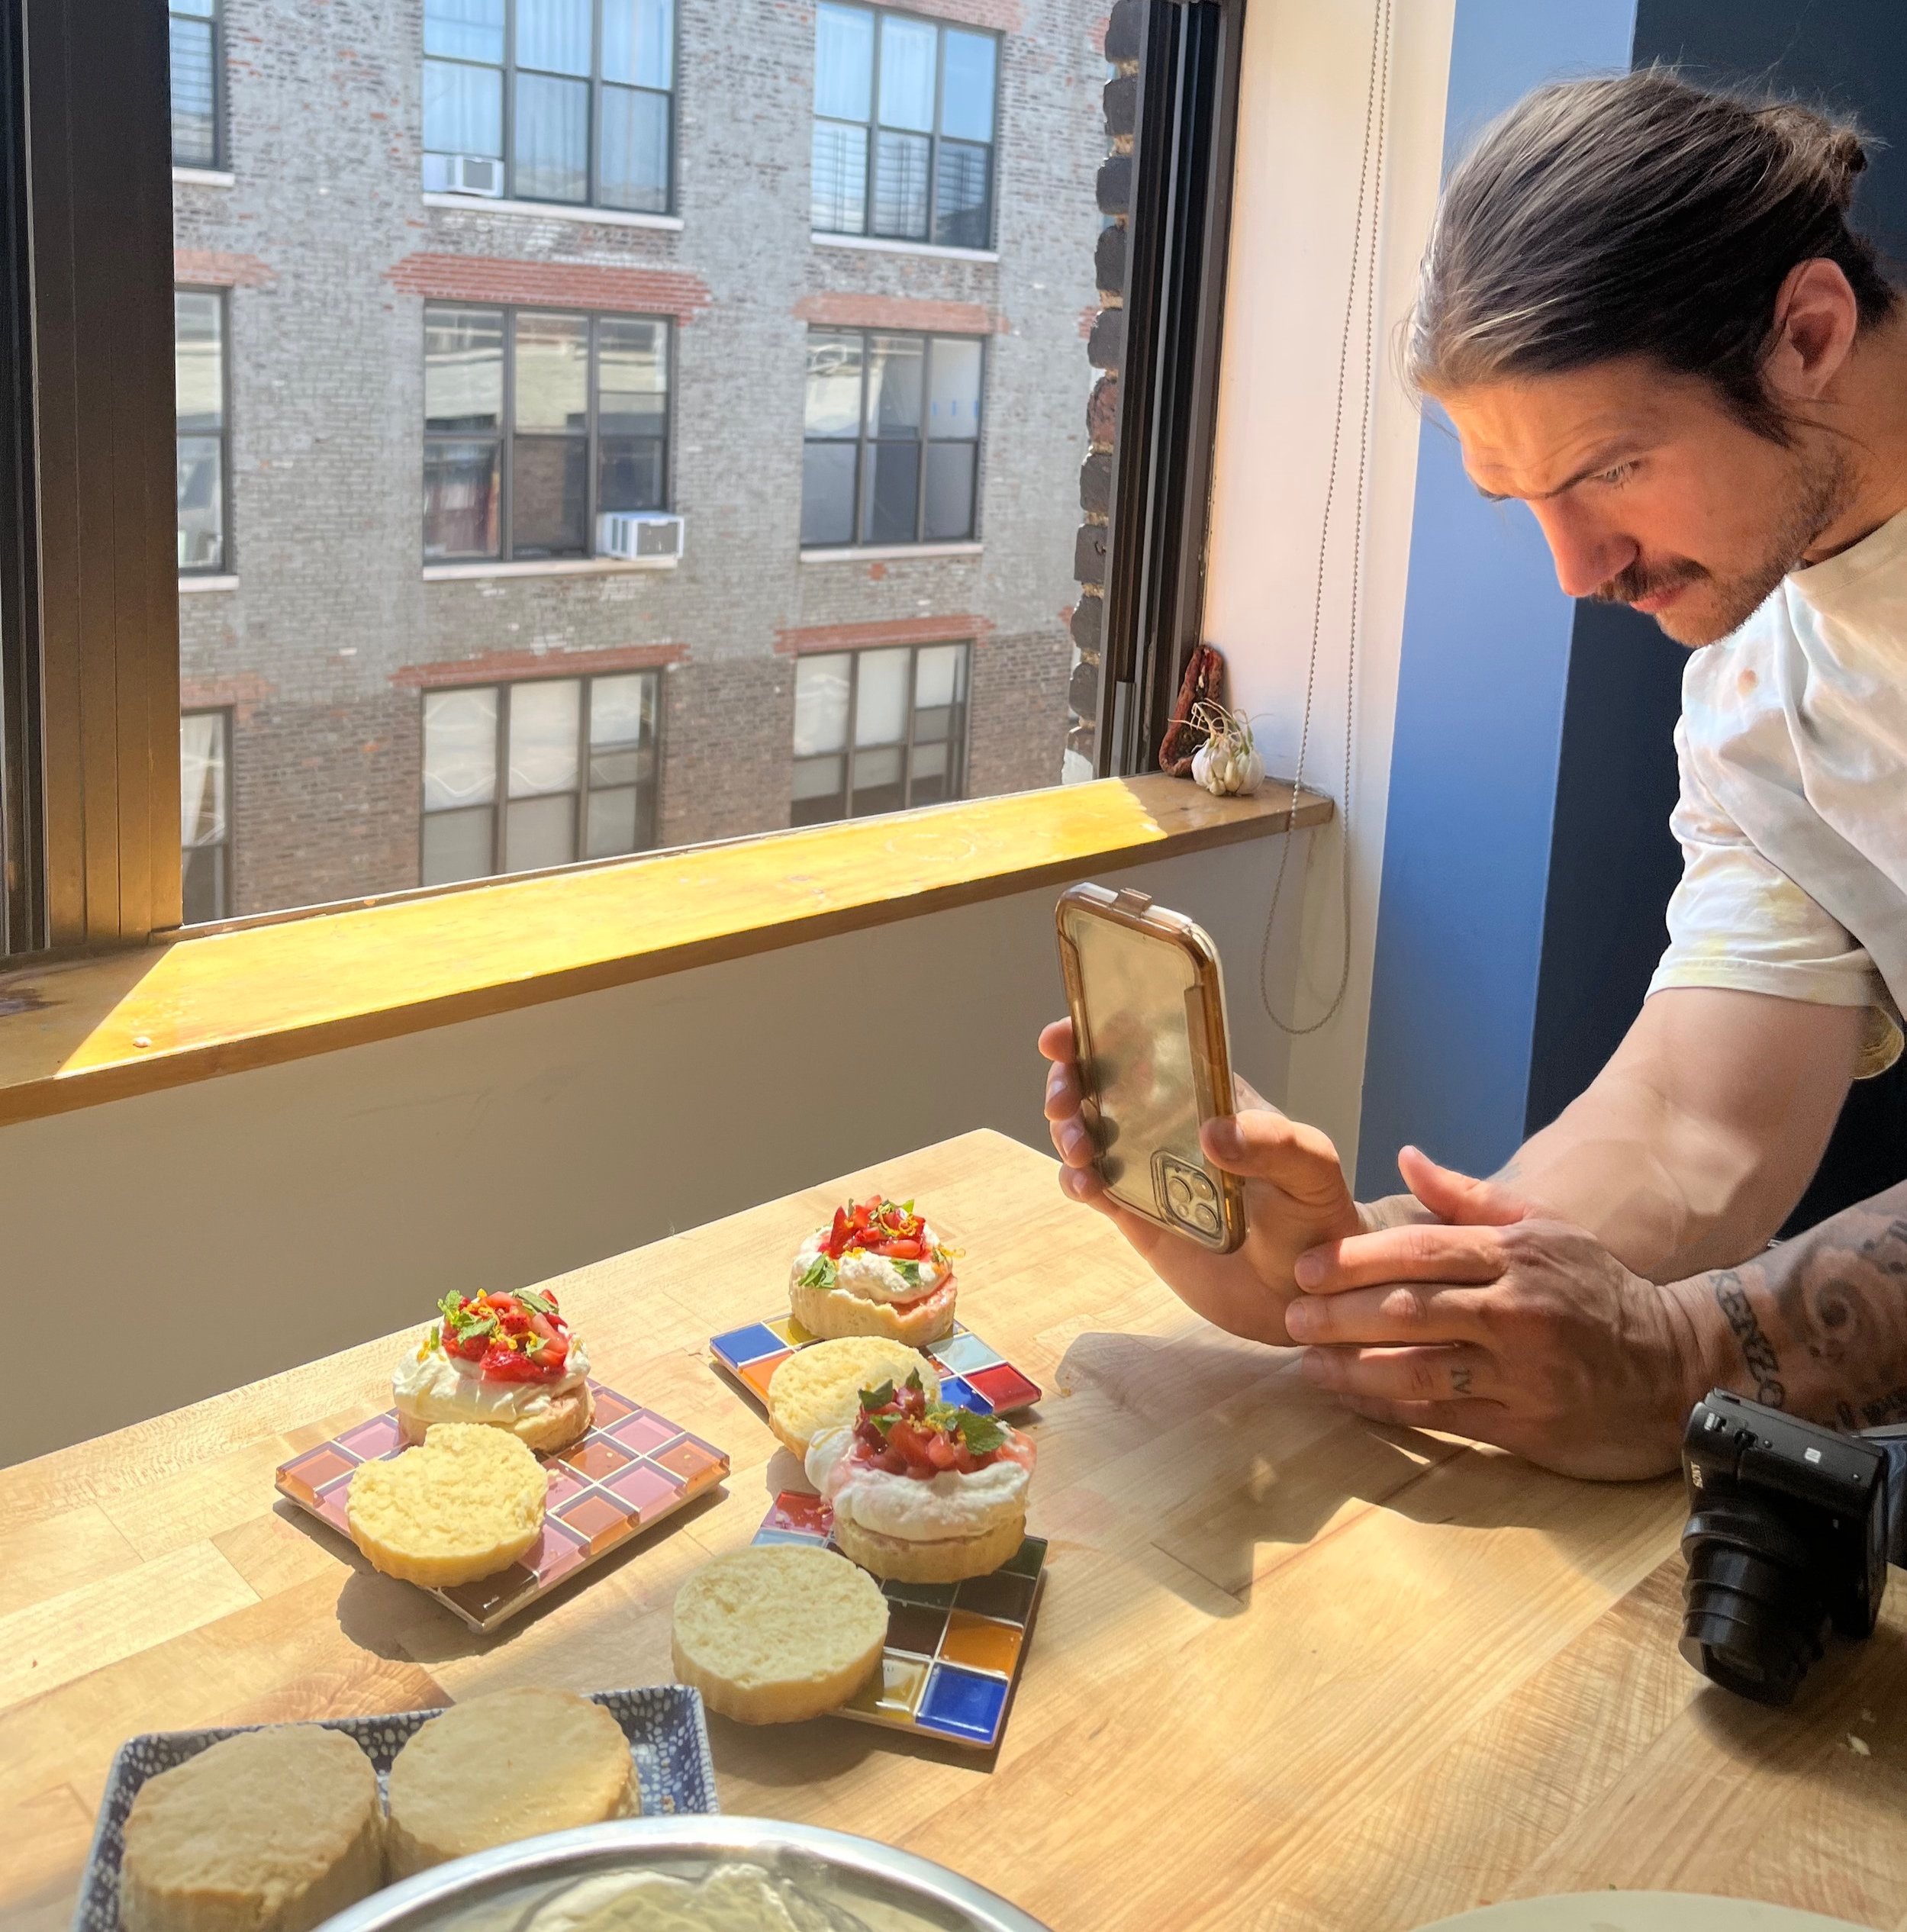
biscuits with strawberry vinegar
— —
This dish is lengthy, but worth it in every single way. You can use clotted cream, whipped cream, or even whipped yogurt/coconut yogurt as the creamy element. The real star here is the strawberry vinegar mixed with fresh strawberries!
— —
Biscuit recipe
2 1/2 cups all-purpose flour
1/2 cup pastry flour
2 tbsp baking powder
1/2 tsp baking soda
1 tbsp sugar
1 1/2 tsp kosher salt
1 1/2 sticks butter (vegan butter works too, I tested it!), grated or cut into small pieces
1 1/4 cup plant based milk + 2 tsp lemon juice for buttermilk replacement
1 tsp sea salt
— —
Process
Preheat oven to 425°. Whisk together flour, baking powder, baking soda, sugar, and salt in a large bowl. I like using a box grater to grate the super cold butter and then add it immediately to the flour mixture. Mix the butter in with your finger tips just until you have coarse meal. Add plant based milk + lemon juice and stir in until just combined. The dough will be very shaggy. Let dough rest for at least 20 minutes. Turn dough onto lightly floured surface and roll or press dough to form a roughly 10 inch square. Fold both sides of your square equally into the center so that the two sides meet in the center. From there, you lightly roll the dough into another 10 inch square and repeat the previous fold. Do this process at least twice. After the last fold, roll the dough to 1/2 inch thickness and cut out the biscuits with a cookie cutter of your choice. Be sure you don't twist the cutter, just press down and pull up, otherwise you could negatively impact your rise. Place biscuits in a parchment lined baking pan, so biscuits are lightly touching. Place pan in the refrigerator to rest 15 minutes before baking. Brush biscuits with mixture of equal parts maple syrup and plant-based milk. Bake about 20-22 mins. Serve warm or at room temperature
— —
Strawberry vinegar recipe
1 1/2 cups strawberries
1 cup white wine vinegar
1/2 vanilla bean, sliced
2 teaspoons cane sugar or coconut sugar
— —
Process
Wash and slice strawberries and place them in a clean 16 ounce mason jar. In a pot heat vinegar and vanilla bean over medium heat, make not to boil the mixture. Pour hot vinegar and vanilla mixture over the strawberries in the jar, add sugar and stir to dissolve. Let mixture come to a cool before storing in a cool, dark place for 2-3 days. When you get the flavor you like, strain the strawberries, and store the vinegar in a jar.
This should last at least 3 months. You can use the “pickled” strawberries on ice cream, on a salad, etc.
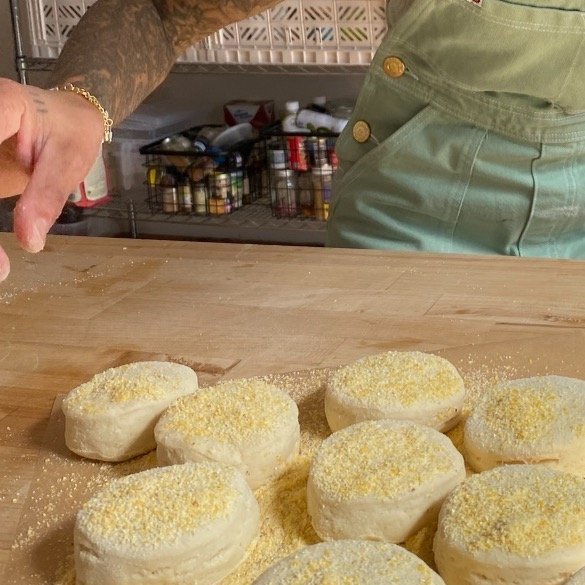
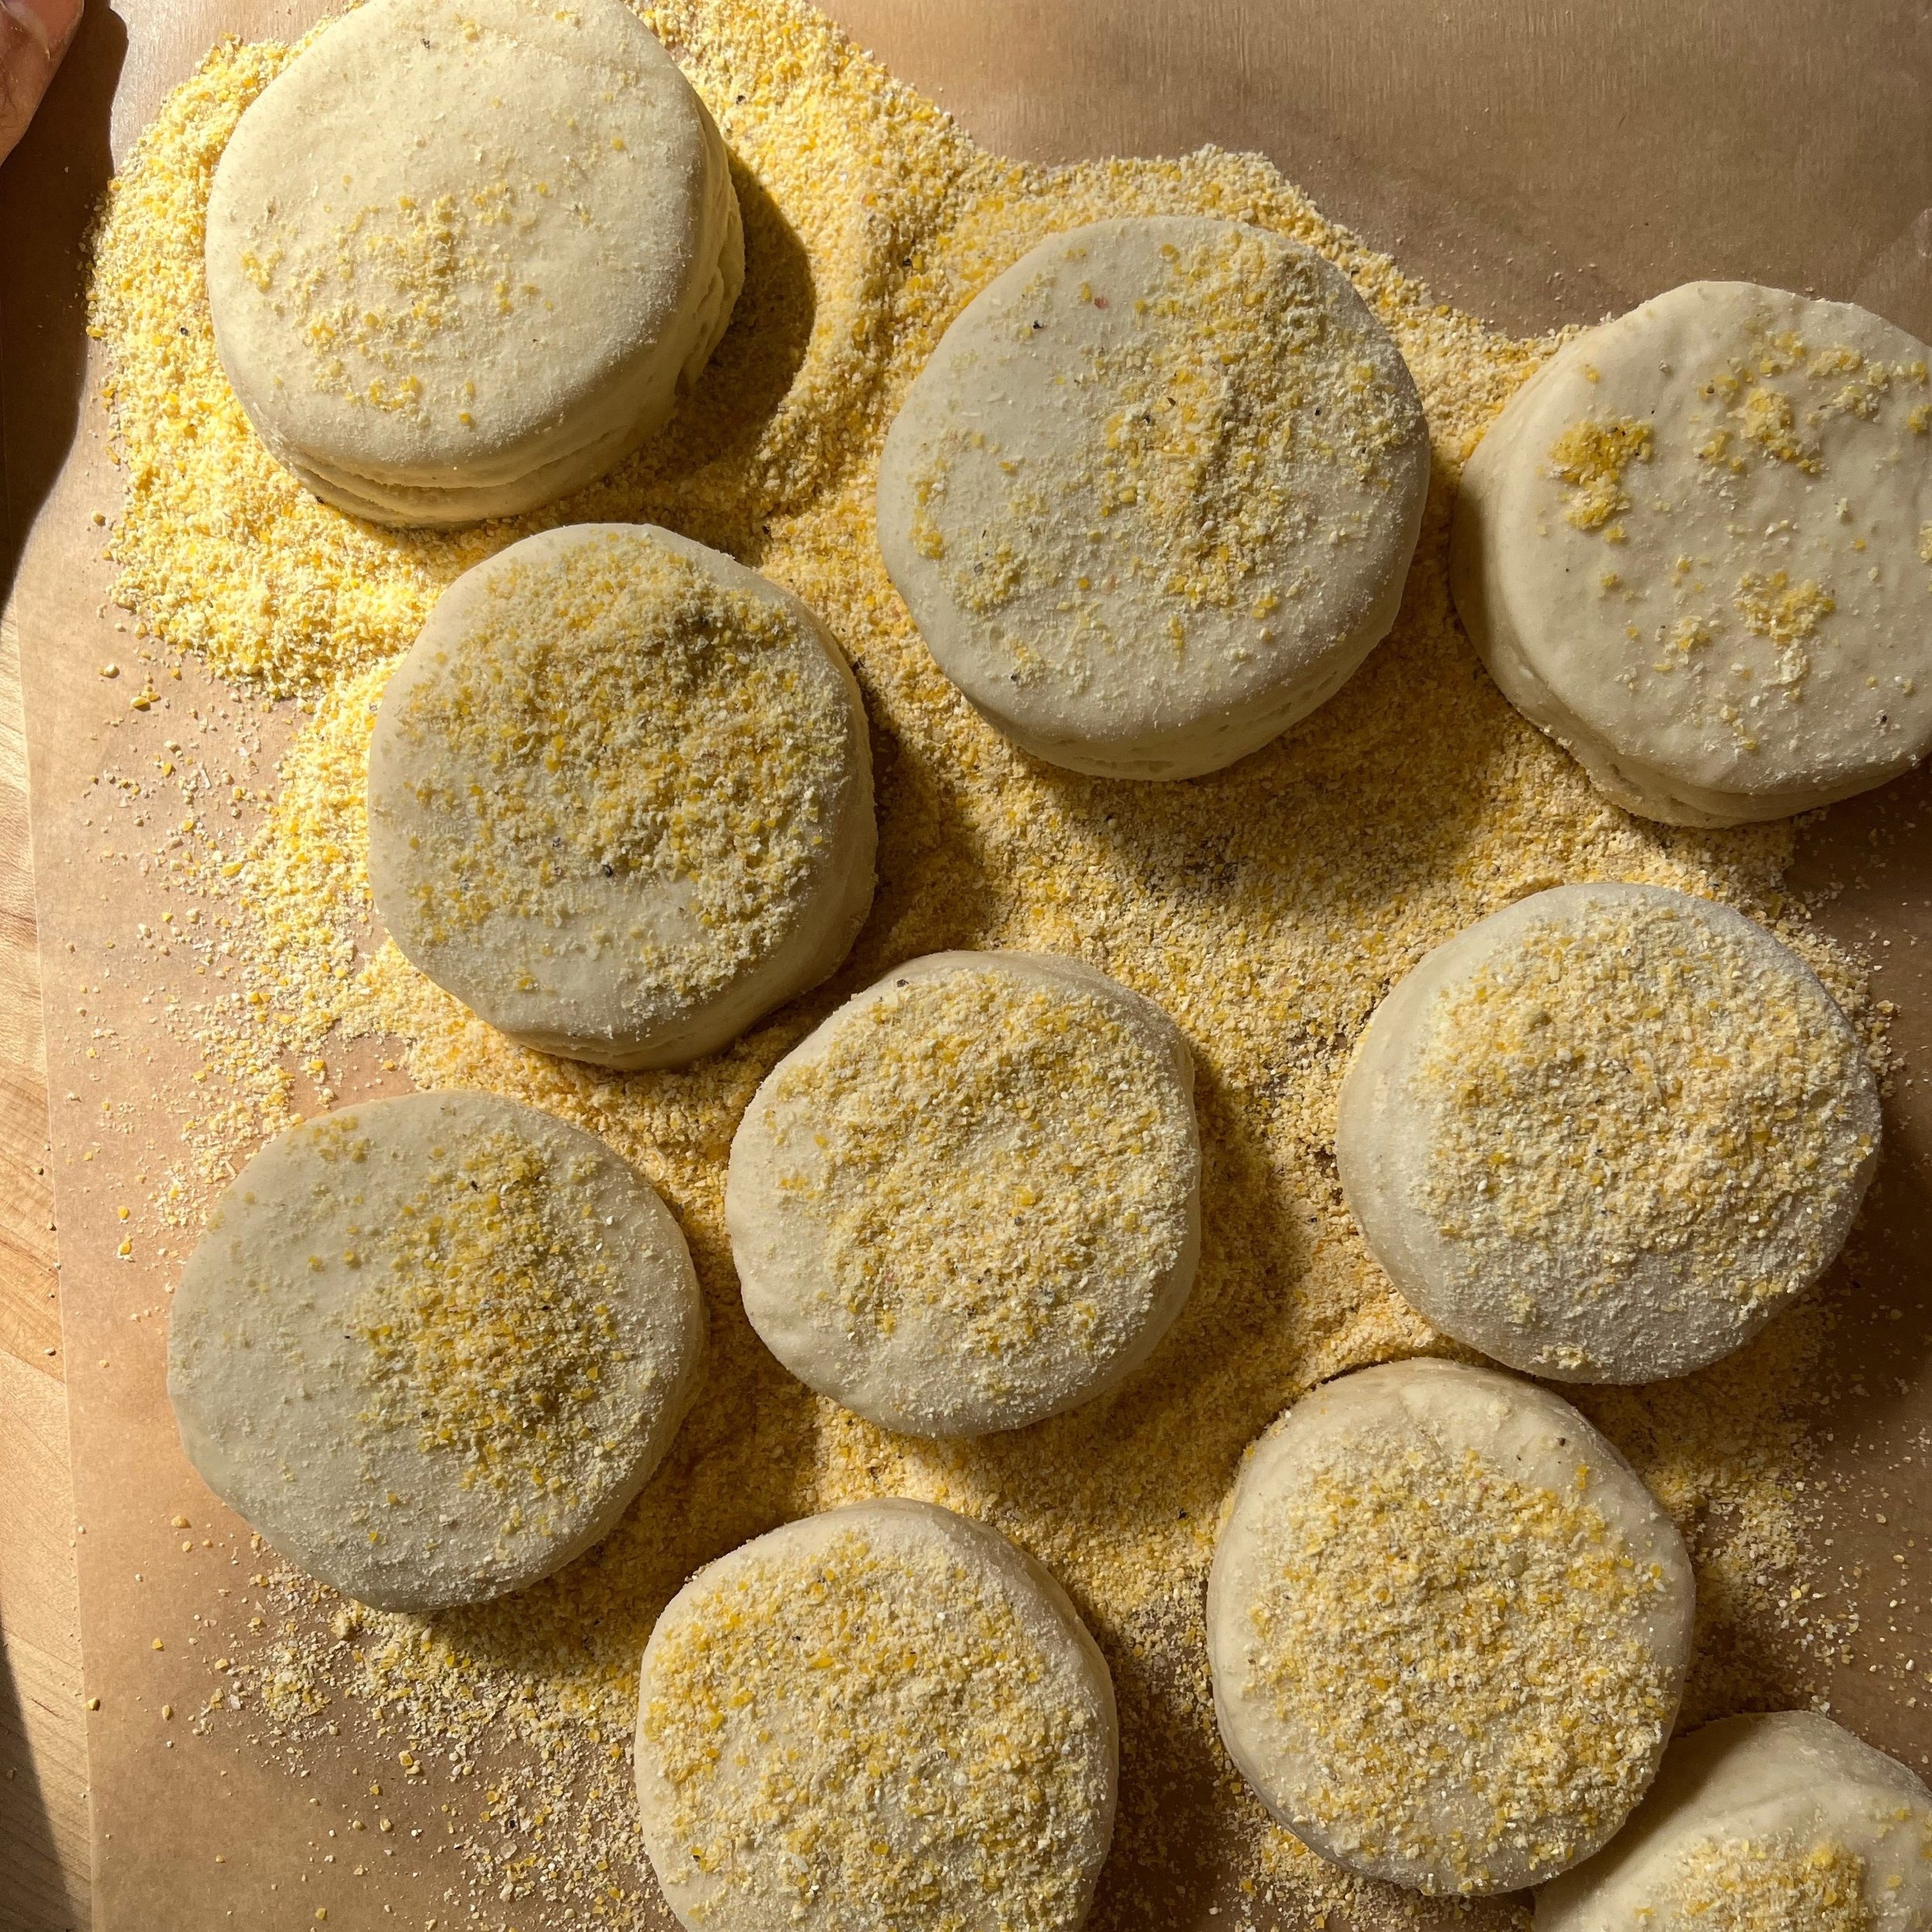
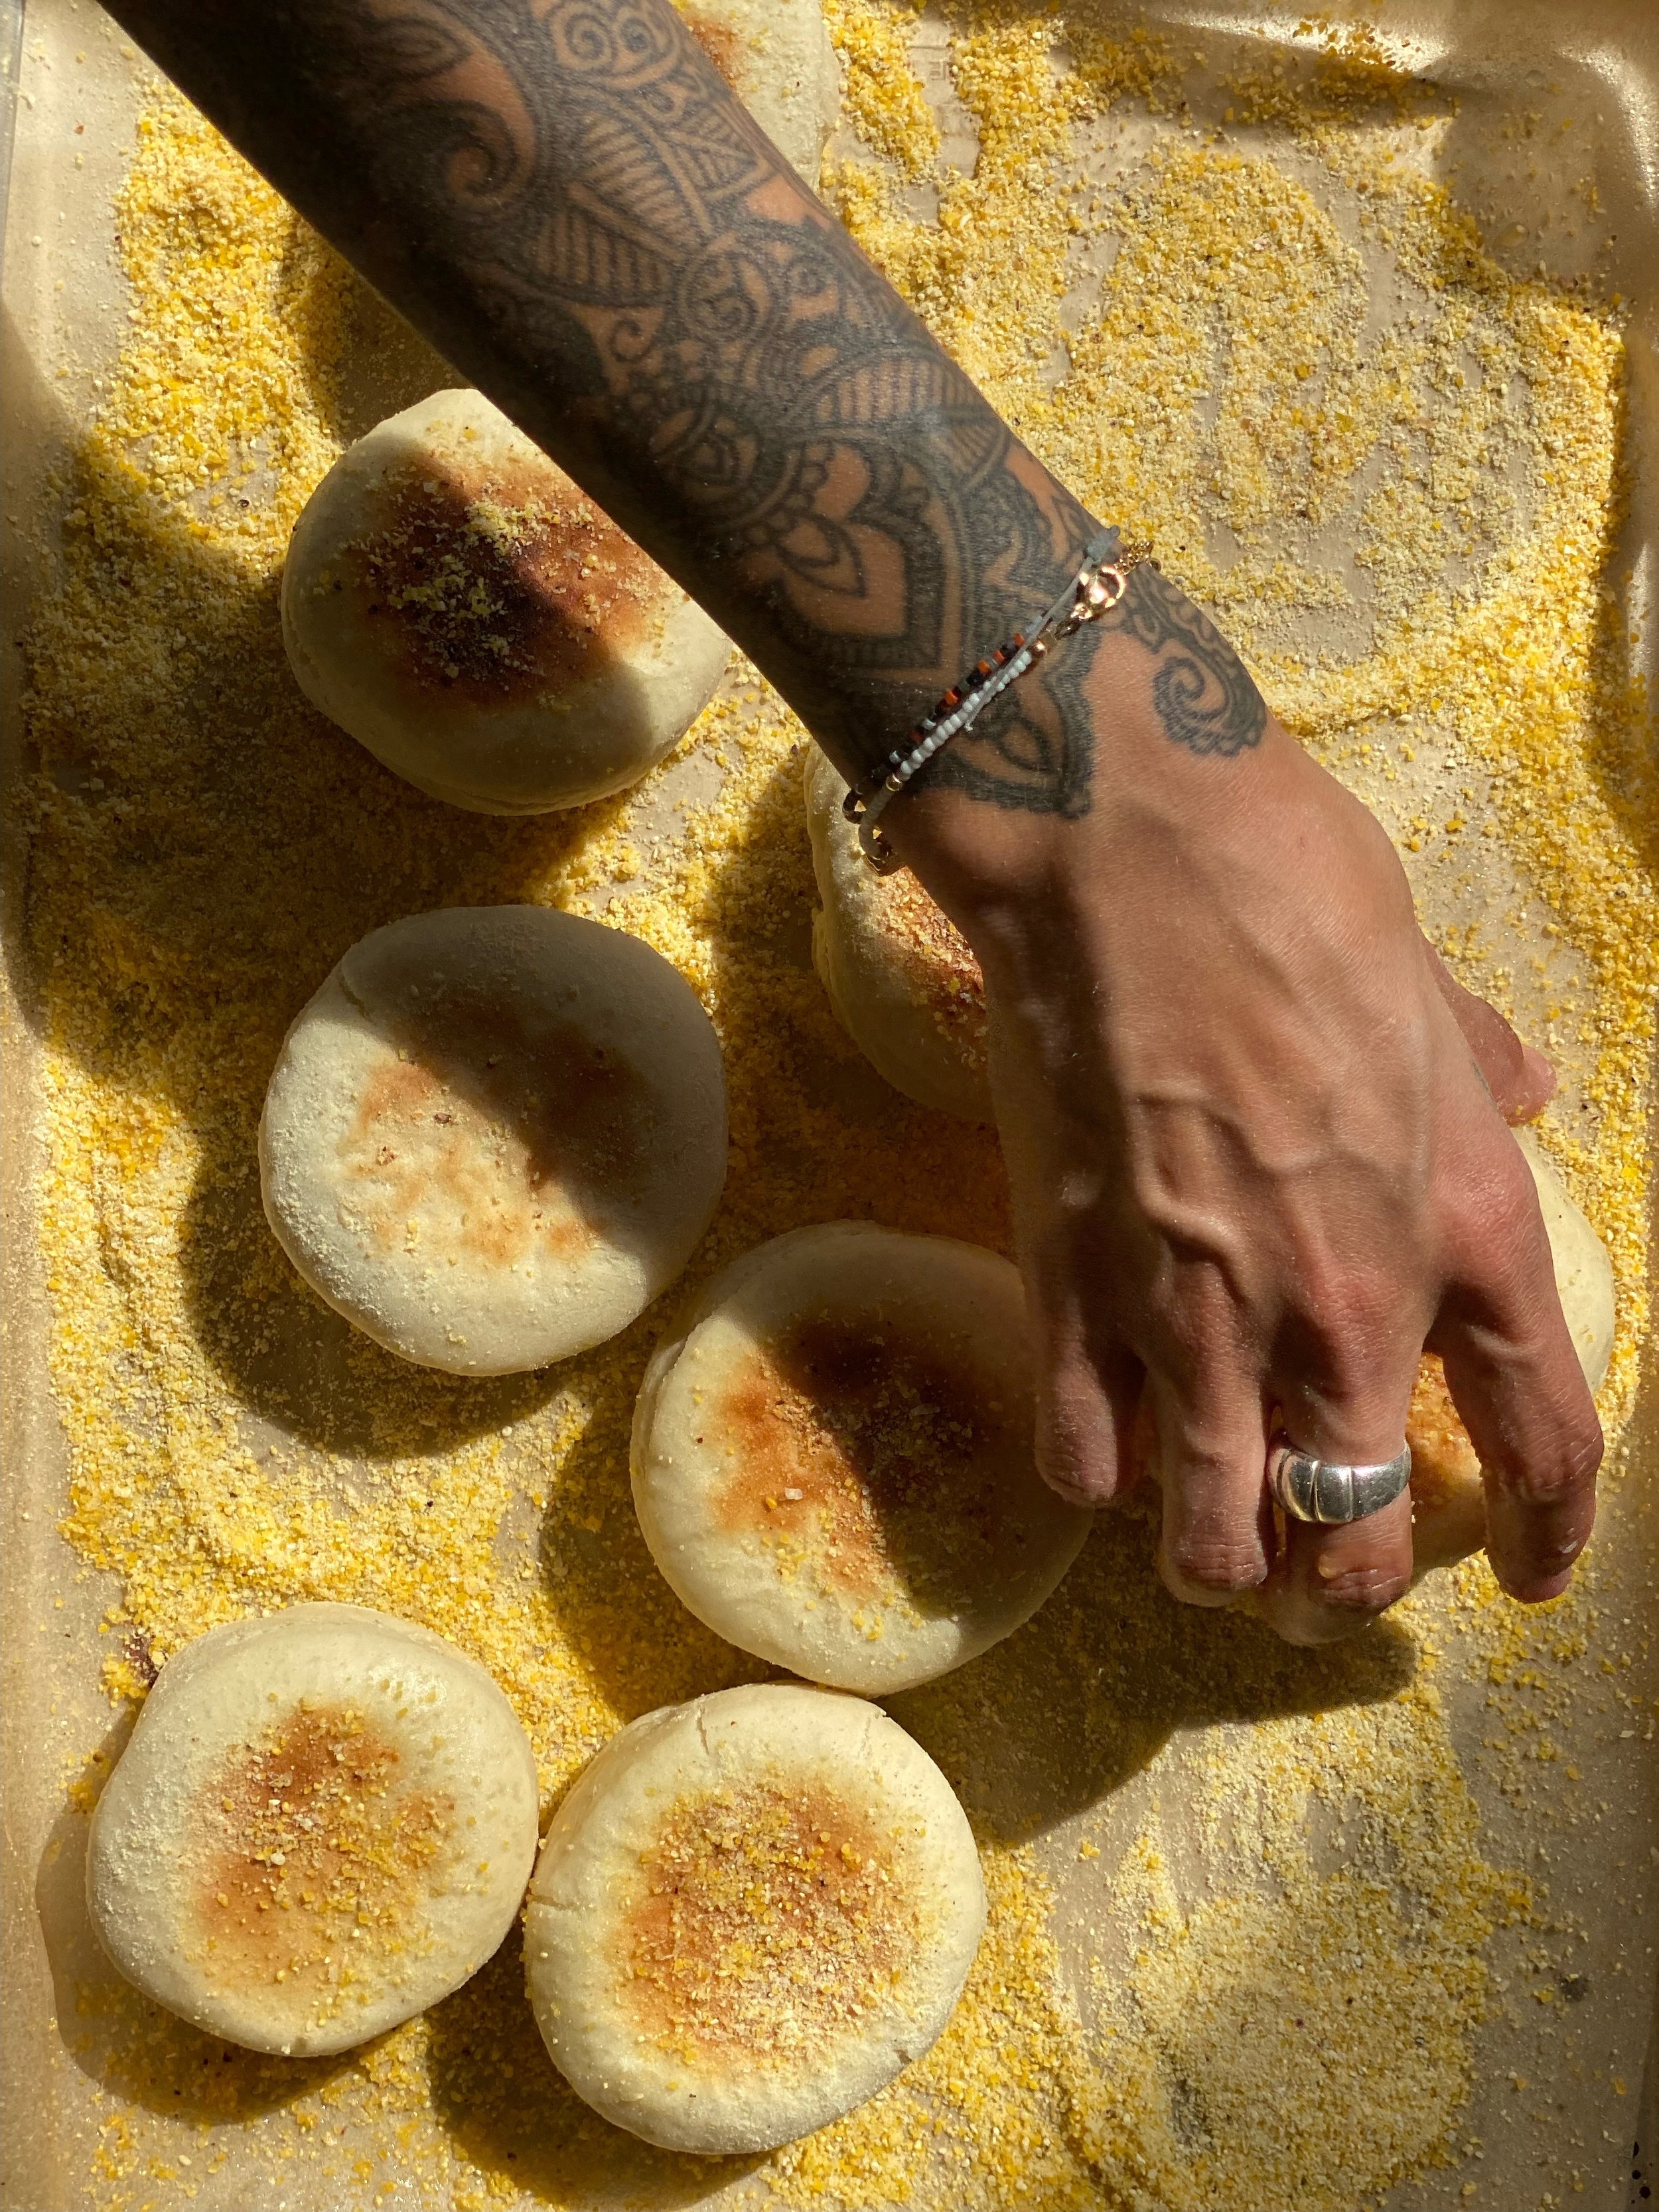
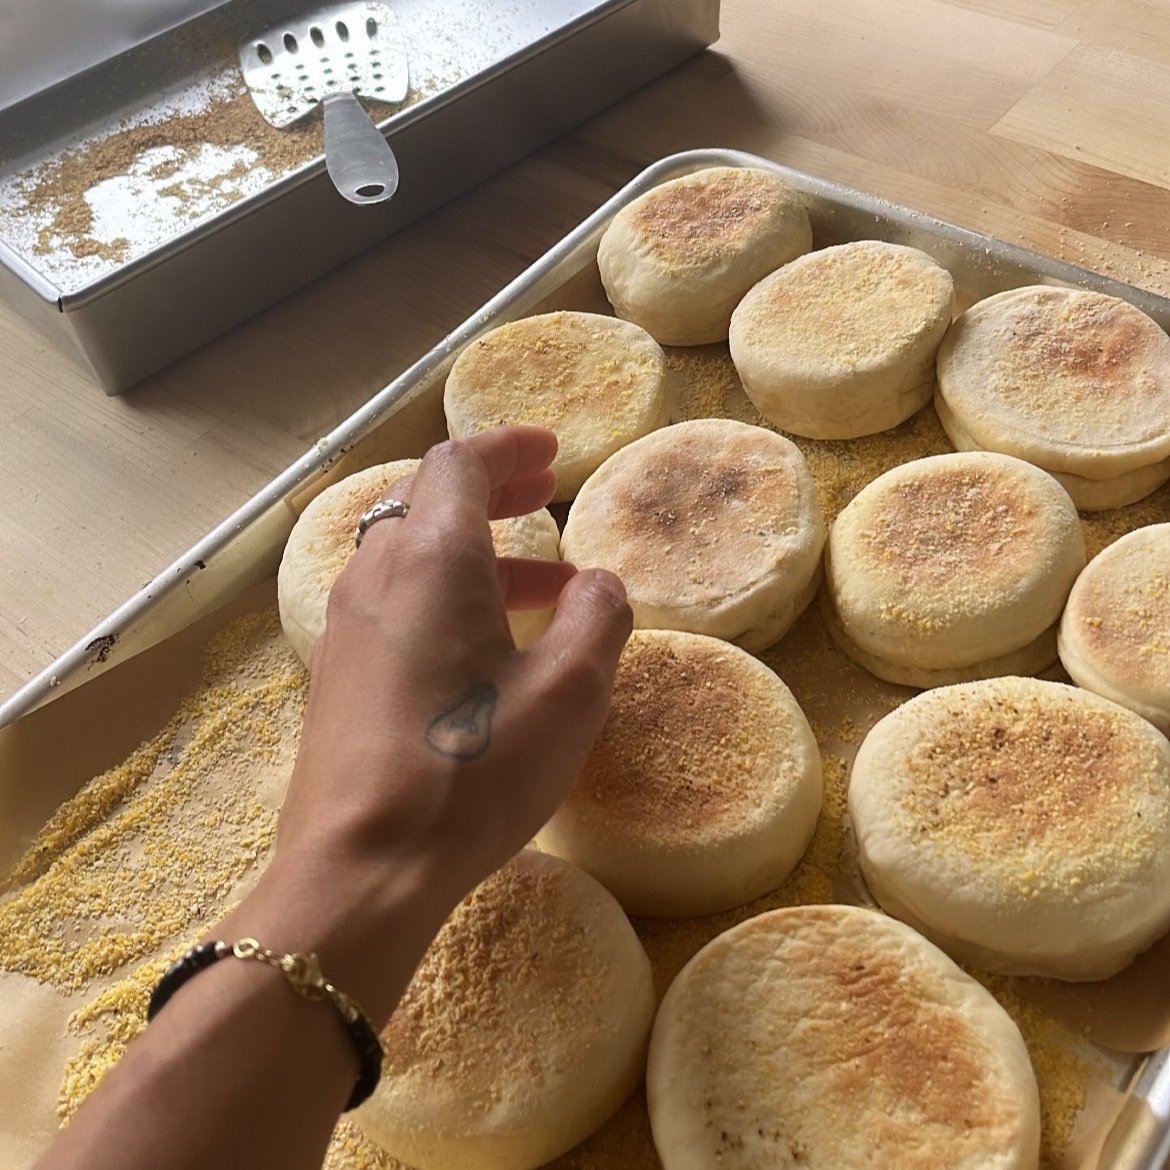
english muffins
— —
Ingredients
3 cups all-purpose flour or bread flour for a denser but still yummy muffin
2 tbsp sugar
1 packet active dry yeast
½ cup plant-based milk (I really like soy milk for this recipe)
1 cup lukewarm water - between 100°-108°
1 tsp apple cider vinegar
2 tbsp vegan butter, melted
1 tsp salt
*You’ll need a few tablespoons of flour to roll out the dough. I also suggest having about a 1/4 cup cornmeal on hand to mix with a few tablespoons of flour for that classic cornmeal vibe that’s so commonly seen with English muffins
— —
Process
In a small pot warm up the water and almond milk just until about 100-108 degrees. You can use this thermometer for accurate temperature measurements. Once warm, add to the mixer bowl with dough hook attachment. Add sugar and yeast packet, and let sit until yeast is fully dissolved and bloomed. Turn the mixer on low, and slowly start to add flour to the bowl one cup at a time. In a separate bowl mix together melted butter, salt, and apple cider vinegar. Add the melted butter mixture to the mixer before adding your last cup of flour. Knead for 4-5 minutes on low speed until dough is smooth and soft. Place dough in a greased bowl, and cover with a kitchen towel and let rise for about 90 minutes in a warm dark place until the dough doubles in size. It can take longer if your room is cold, just be patient angels. While dough is rising, prepare a tray covered with lightly oiled parchment paper and a few tablespoons of cornmeal and flour. When dough has doubled in size, punch down the dough, and roll it out on a lightly floured surface into. You’ll wanna roll it out to about 1/2 thickness. Using a 3 1/4 inch cookie cutter, cut out circles and carefully place on the baking sheet with the cornmeal and flour. You can use any leftover dough to roll out again, and cut out more English muffins until you’re out of dough. After you cut out all of your English muffins, cover the tray with a damp towel or paper towels top let rise for one hour.
To cook English muffins, heat a heavy non-stick skillet over low heat. Be sure to put NO OIL in the pan, this is very important. Place 2-3 English muffins on the pan carefully leaving space between them. Place a lid on the pan and cook on low for 4-5 minutes. Then flip them carefully with a spatula and cook for another 2-3 minutes until puffed and golden! Set the finished English muffins back on the tray with the flour and cornmeal mixture to cool.
I highly recommend eating these English muffins fresh, however these freeze GORGEOUSLY! You can store them in the freezer and thaw easily for up to one month.